Color grading in Premiere Pro: looks, LUTs and scopes
Balance each clip, place a shared look above the scene, then refine the grade with curves, wheels and secondary color. Use the scopes to check skin hue and play across cuts before saving the look for reuse.
Use Lumetri Color to add a creative look to corrected clips in Premiere Pro, then refine contrast and color with curves and wheels. Watch the luma waveform and Vectorscope YUV while you work, and play across cuts to judge consistency.
I prefer an adjustment layer for the shared look because it carries one scene style while each shot keeps its own exposure and white balance. Settle picture timing and sound before this color pass, and leave titles and export until after it. Correct each shot before the look goes on, so a new look doesn't conceal an unfinished correction.
Keep Lumetri and Color Mode beta separate
In Adobe Premiere (formerly Premiere Pro), the steps below use the Lumetri workflow for shipping 26.x. Adobe still lists Color Mode in Premiere beta as a separate grading system. Its Styles, Operations and Color Controls are a different route from the Lumetri sections described here.
For a project already being finished with Lumetri, Adobe advises staying in shipping 26.x until the work is complete. Its beta documentation describes changes for the upcoming 27.0 release, including retirement of the Lumetri panel while the Lumetri Color effect remains. Try the beta on duplicate or fresh projects; Adobe discourages critical client work in it and warns against moving projects freely between the beta and shipping versions.
If a beta project opens in 26.x with missing color-effect warnings, Adobe advises quitting without saving and reopening it in Premiere beta. Don't save over the beta project to make those warnings disappear.
Read the scopes before changing the look
Open the sequence and park the playhead on a representative corrected shot. Select Window > Lumetri Scopes, then right-click inside the panel to choose scopes. Use Vectorscope YUV and the waveform's Luma view. Add Parade (RGB) when you need to compare the separate color channels for a cast.
The waveform and vectorscope measure different properties. The luma waveform shows brightness and contrast; Vectorscope YUV shows hue around the circle and saturation outward from its center. Read those signals before deciding that a face is too orange or the shadows need more color. The skin reference line cannot tell you whether a face is bright enough.
Keep the scopes appropriate to the footage and delivery. Clamp Signal changes only the scope display; it doesn't repair the timeline image or constrain the exported file. A trace hidden by clamping is not evidence that a grade is within the required output range.
Confirm the source, sequence working and output color spaces before applying the look. Premiere's Color Management transforms footage through those spaces. If a clip's source tagging is wrong, check Modify Clip > Color; don't compensate by piling on contrast. Changing the working space after grading can change the result.
Play between the corrected shots now. If exposure or white balance jumps at the cut, return to color correction on the affected clip. Establish that balance before using the shared look to set the scene's mood.
Keep shot corrections below the shared look
Place the shared look adjustment layer above the corrected picture clips. For this example, read the video tracks from top to bottom:
| Track | Content | Purpose |
|---|---|---|
| V3 | Titles | Keep title color above the shared picture grade. |
| V2 | Look adjustment layer | Apply the creative treatment to picture below. |
| V1 | Corrected picture clips | Keep exposure and white balance specific to each shot. |
| A1 | Dialogue | Keep speech available while checking the cut. |
| A2 | Music | Listen across the scene's edit points. |
The V2 layer affects the video beneath it. Keeping the titles above that layer lets their color stay separate from the picture grade.
- Select File > New > Adjustment Layer, confirm its Video Settings, then place the new item on V2 above the scene.
- Trim the layer to cover the shots that should share this look. Check its first and last frame against the scene's edit points.
- Select the adjustment-layer body in the timeline. In the Effects panel, find Lumetri Color and double-click it to add the effect to that layer.
- Open Window > Lumetri Color and make the shared creative adjustments with that layer selected. Select an individual V1 clip when you need to change its own correction instead.
Adobe's adjustment-layer procedure depends on selecting the layer before adding the effect. Moving the playhead onto a shot is not a substitute for checking the selected target. Play from a little before each cut and watch for a sudden exposure or color change. If you insert or trim footage later, recheck the layer's span and the placement of any color keyframes against the moved cuts.
Give each LUT a defined purpose
A technical LUT converts a specified input, such as a camera's log encoding, toward another color space. A creative LUT applies a designed look to the input it expects. A LUT's intended color space matters: a Rec. 709 look and a camera-log conversion are not interchangeable. The menu used to load a LUT doesn't determine its purpose.
Load an input transform only when the workflow needs it
If your workflow calls for a camera-specific technical LUT, select the individual picture clip in the timeline, open its Lumetri Basic Correction section and choose Input LUT > Browse. Adobe documents Browse for loading a local LUT. Check the LUT's expected camera profile and color space before applying it.
First establish whether Color Management already handles the required conversion. Applying another log conversion to footage that has already been normalized can change the image again. Keep the technical transform with its source workflow; use the shared look layer for the creative treatment. A LUT also doesn't replace the individual exposure and white-balance corrections that make the shots agree.
Choose a Creative Look and adjust its strength
- Select the look adjustment layer and open Creative in its Lumetri Color effect.
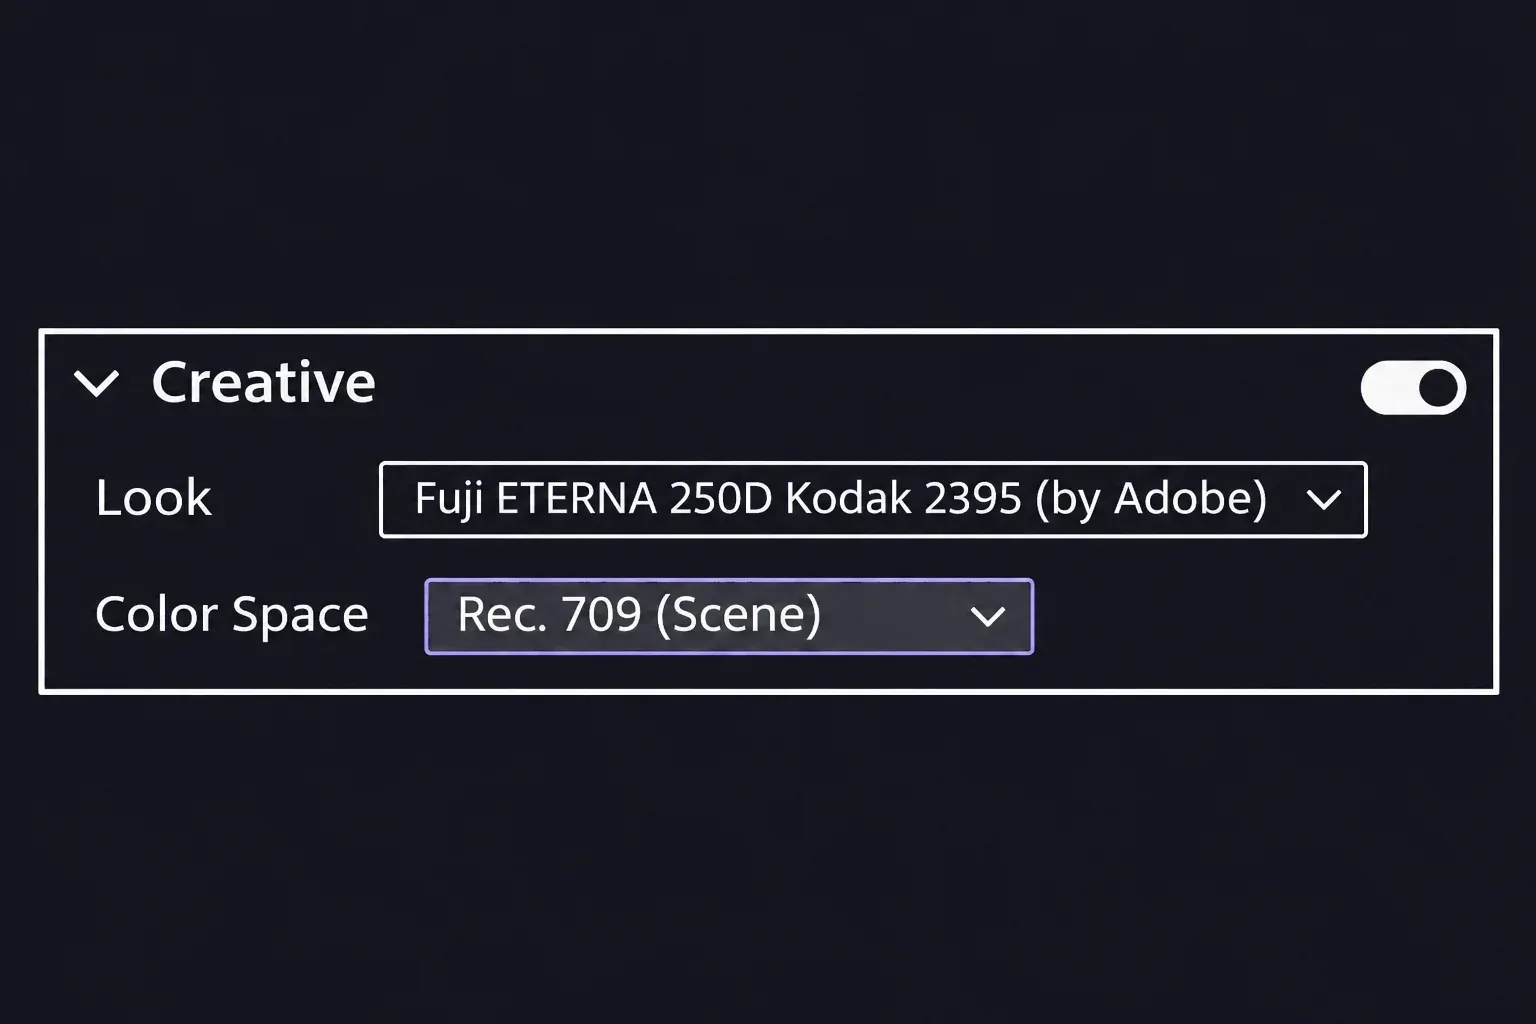
- Choose a built-in Look from the drop-down. You can also browse the preview thumbnails with their arrows and select the preview image to apply a look.
- Adjust Intensity to set the strength of that Look. Reduce it if the treatment overwhelms the corrected footage, then compare several shots under the same layer.
The Creative Look and Intensity controls give you a starting treatment you can refine. For a subdued interview, for example, choose the amount by checking the face and the cut to the next camera, rather than by retaining the preset's initial strength. Adobe designed its supplied Look LUTs for Rec. 709; for those Looks, select Rec.709 (scene) in the Creative section's Color Space menu. For a different LUT, choose the input color space it expects. You can also build the look with the manual controls without selecting a LUT.
Judge the applied Look in the Program Monitor: Adobe says the LUT preview thumbnail is not color-managed and can show an incorrect result even when the output is correct.
Shape contrast, then adjust selected colors
With the look layer selected, open Curves > RGB Curves. Select the white master curve to adjust the RGB channels together. Its neutral starting state is a straight white diagonal. Add a control point in a darker tonal region and another in a lighter region, then make small moves while watching the luma waveform. An S-shaped curve increases contrast, but its shape and strength should follow the scene. Stop if the adjustment removes shadow detail or flattens highlights.
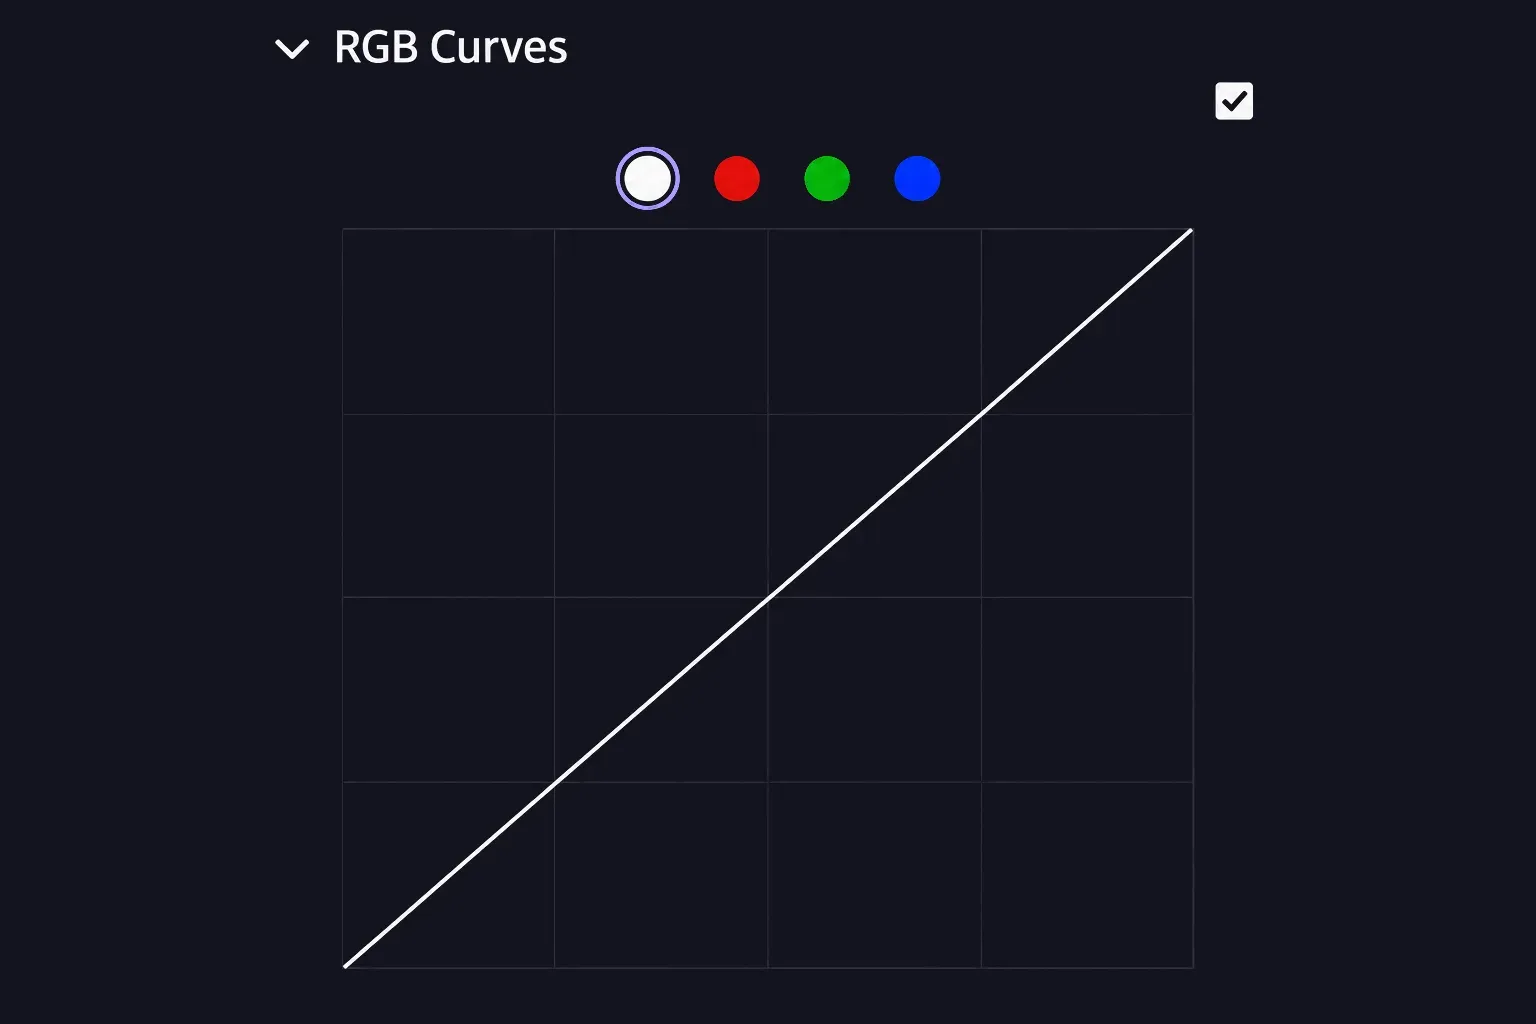
Use a hue curve when one range needs attention without a global saturation change. In the relevant curve, sample a color in the Program Monitor with the eyedropper. Premiere adds three control points; move the middle point to adjust the selected range. Adobe distinguishes five Hue and Saturation curves:
- Hue vs Sat changes saturation within a selected hue range.
- Hue vs Hue shifts a selected hue toward another hue.
- Hue vs Luma changes the brightness of a selected hue range.
- Luma vs Sat changes saturation within a selected brightness range.
- Sat vs Sat changes saturation within a selected saturation range.
For example, use Hue vs Sat to reduce a distracting wall color. Use Luma vs Sat when the unwanted color strength is concentrated in the shadows. Check the moving shot as well as the parked frame so the adjustment doesn't create an obvious change as the subject crosses that range.
Open Color Wheels & Match for tonal color adjustments. The shadows, midtones and highlights wheels let you work on those regions independently. Drag a wheel's center toward the desired hue to add color; use its accompanying slider for brightness. Make a small change, read the waveform and vectorscope again, then play across the cut. A cool-shadow treatment that works on one shot may need less strength on the next.
Use the skin line as a hue reference
The skin-tone reference line extends toward the upper left of the vectorscope. Larry Jordan's Premiere examples show skin hue near that line while saturation varies with distance from the center. Use it as a reference for a natural-looking treatment under suitable light. Brightness and saturation still need separate judgement; lining up the hue alone doesn't establish a finished skin tone.
A whole-frame trace also contains clothing and background colors. A temporary diagnostic crop can separate a well-exposed patch of skin; Jordan demonstrates this with skin on the neck and warns about makeup affecting a selection. Restore the full frame before judging the shot or continuing the edit. Colored lighting and an intended night or stylized scene can justify a hue away from the reference. Don't push every person onto one exact line or give every face the same brightness.
When one shot needs a skin or object adjustment, select that picture clip and use its Lumetri HSL Secondary controls. Keep the shared look in place while you judge the final picture. Adobe's HSL Secondary procedure separates the key from its correction:
- Use the Set color eyedropper to sample the target. Add or remove parts of the selection with the plus and minus eyedroppers.
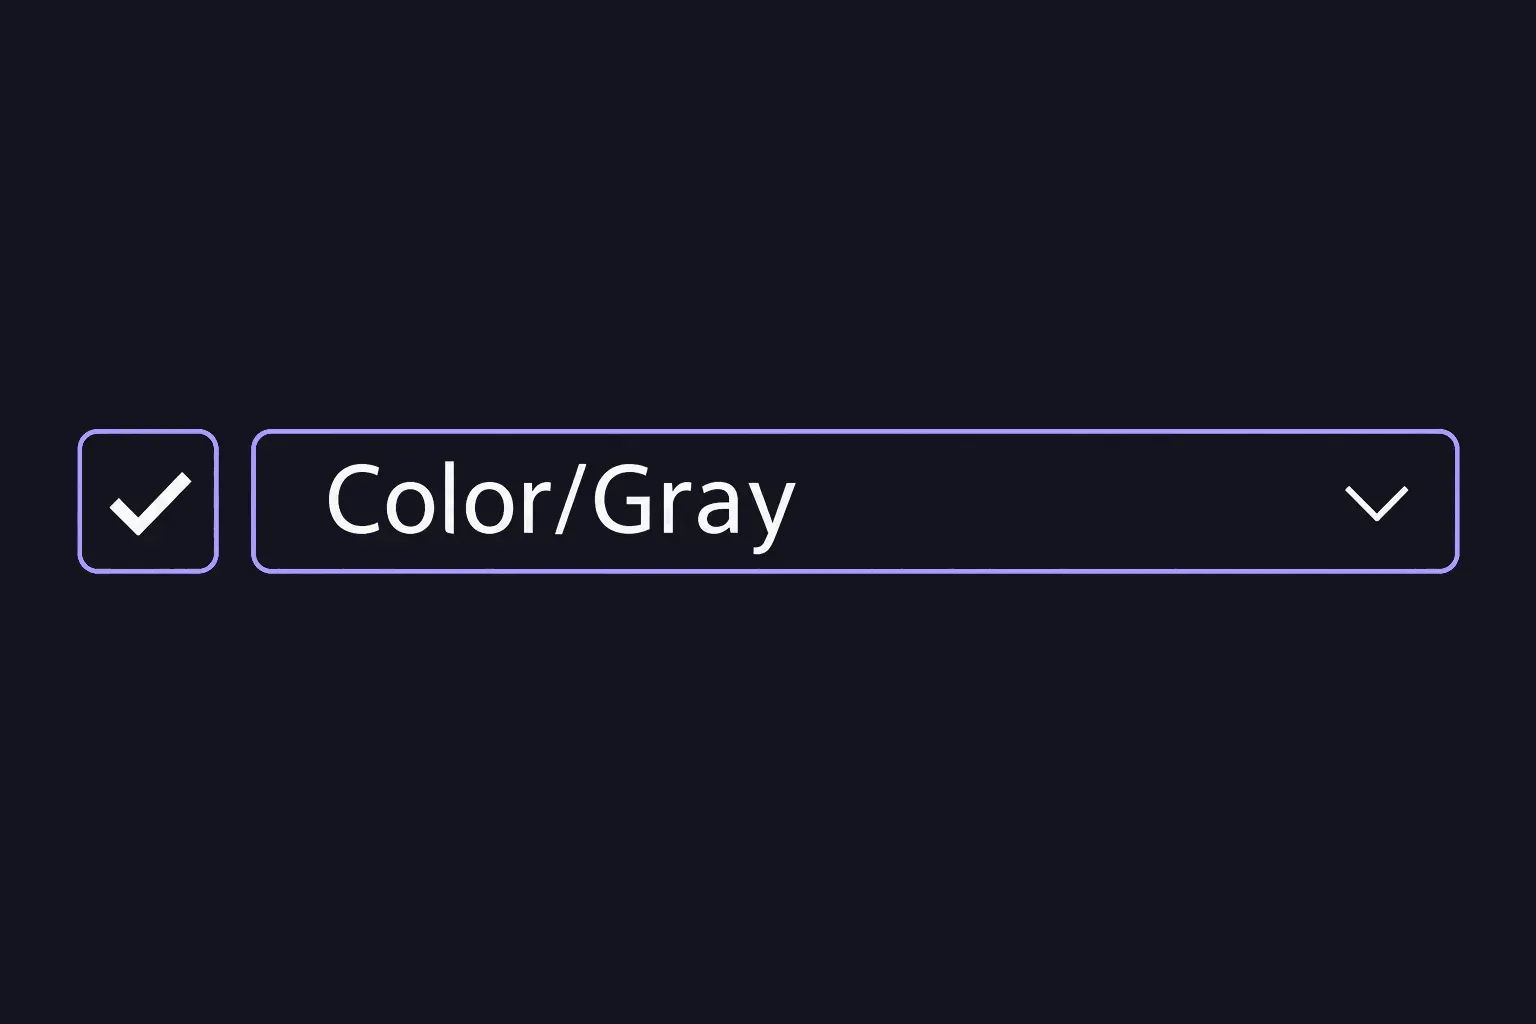
- Enable Color/Gray to inspect the selected range. Refine the H, S and L ranges until the intended area is included without unnecessarily selecting nearby colors.
- Use Denoise to smooth noise in the key and Blur to soften its edges. These controls refine the selection.
- Adjust the selected range in the Correction section, then turn off Color/Gray to see the picture.
- Play the shot and the following cut. Check the skin hue, the selected area's edges and any background colors that the key also caught.
Save the look and check it across the edit
To save the shared treatment, select the look layer whose Lumetri effect you want to reuse. Open Window > Lumetri Color, choose Export .cube from the panel menu, then select Save. Adobe documents .cube export for reusing a LUT in other projects. Keep the editable project too, and record the color-space context expected by the saved look.
To reuse it, select a fresh look layer with a Lumetri Color effect, open Creative and choose Look > Browse, then pick the saved .cube. Loading it as a Look keeps the Intensity slider available for that layer. Use it only where the incoming footage matches its expected color-space context. Keep the original per-shot corrections, and avoid placing the saved treatment on top of a layer that already applies the same grade. Compare the result across the new scene before making further adjustments.
Park the playhead a little before each edit point and play through it. Watch for a jump in skin color or contrast, then check the first and last affected frames at the look layer's ends.