Animate text in Premiere Pro: keyframes and Typewriter
Set a precise landing with two keyframes, reveal letters with Typewriter, and keep the title animation intact through a late trim.

To animate text in Premiere Pro, select the text layer and animate Position in Properties or Effect Controls. Set one keyframe offscreen at the start and another where the words should settle, then give the later keyframe Ease In. For a letter-by-letter reveal, apply the built-in Typewriter transition to the title's first frame.
For a title that has to land on a particular frame, I'd use Position keyframes: you can move the arrival frame without changing the resting position. Finish the cut beneath the title first, because a later trim can shorten the movement or change where it falls against the shot. These steps use the desktop app; Premiere on iPhone has separate Intro and Outro controls.
Slide a title into place with two keyframes
Start with a text clip above the footage. Top to bottom, the example stack is V2 title, V1 shot; A1 dialogue or music. Select the title, then select its text layer in the Program Monitor or Properties. If the title contains a background shape too, selecting the words lets you move them independently.
Open Window > Properties. Adobe's layer animation controls in Properties cover Position, Anchor Point, Scale, Rotation and Opacity. The animation icons sit under Align and Transform. You can see the keyframes more clearly in Window > Effect Controls; its default shortcut is Shift + 5 on Windows and macOS. All shortcuts here can be reassigned in Keyboard Shortcuts.
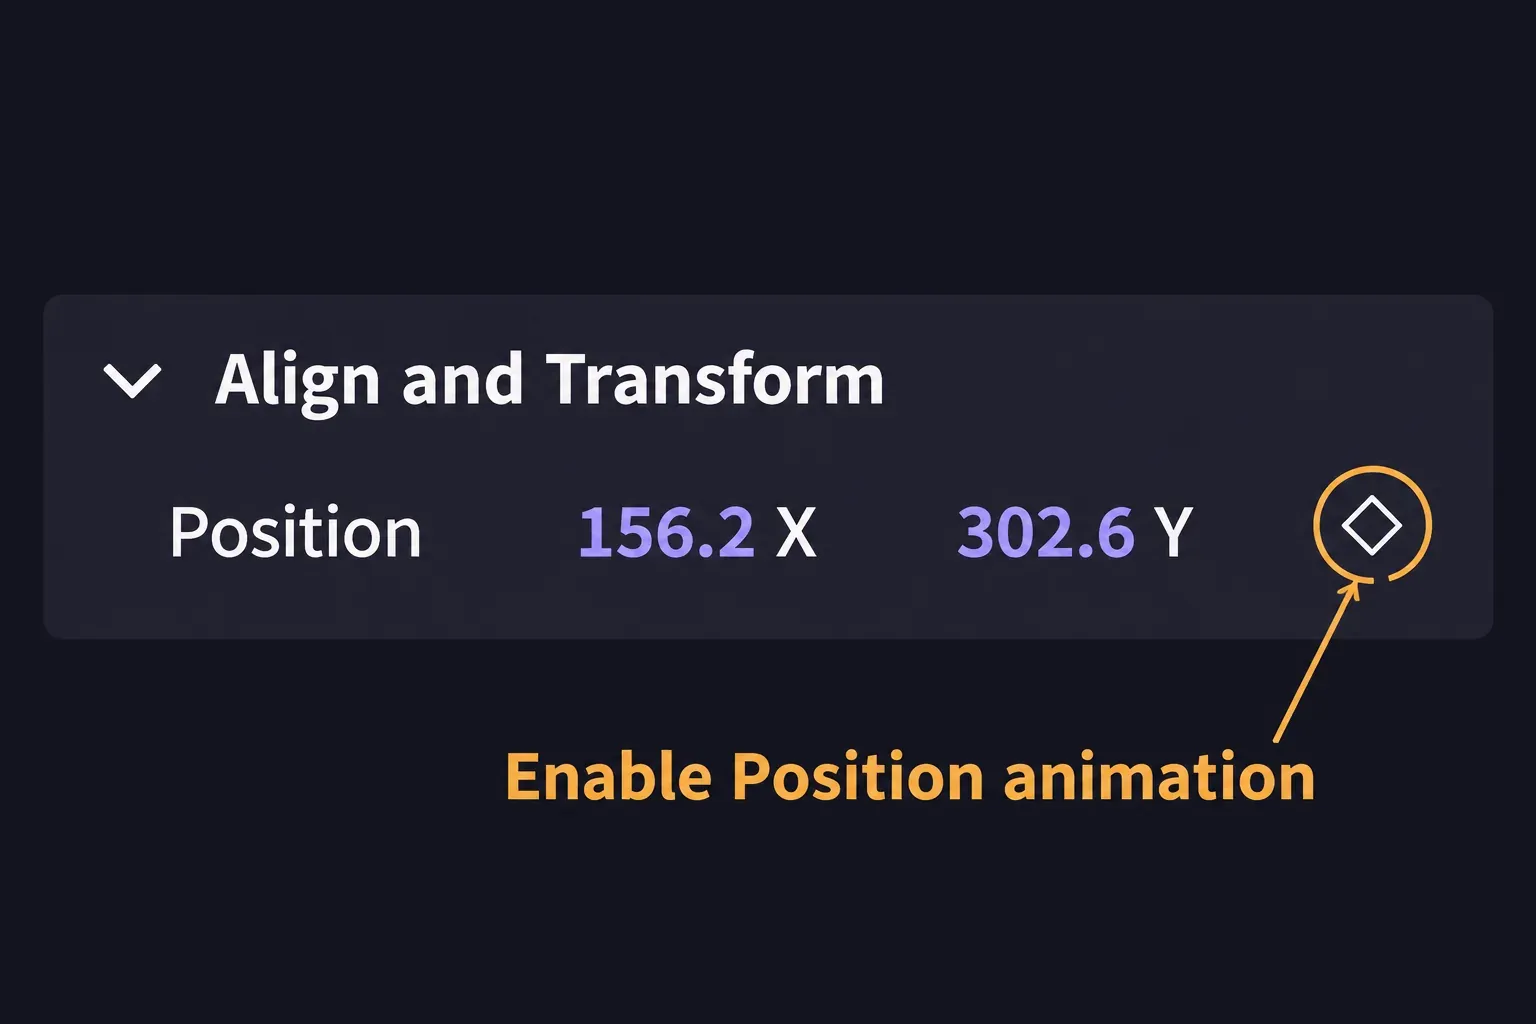
- Move the playhead to the frame where the words should be fully in place. For a short example, choose a point about half a second after the title starts. Arrange the text at its final position.
- Turn on animation for Position. In Effect Controls, check that a keyframe sits at the playhead; if it doesn't, click Add/Remove Keyframe beside the property. This stores the resting position before you move the words.
- Move the playhead back to the first frame of the title clip. Lower Position X until the complete line sits beyond the left edge of the picture. With animation enabled, changing the value at another time creates a second keyframe.
- Play from the start of the title to a little beyond its landing. The words should enter from the left and stop at the position stored in step 2.
The same sequence in Effect Controls uses the Stopwatch beside Position to enable animation, followed by Add/Remove Keyframe. Expand the text layer's controls before changing its Position. Keep using that layer throughout the move so you don't switch halfway to the whole graphic's Motion controls.
For a fade, use the same two frames with Opacity at 0% on the first and 100% on the second. Scale can start smaller and finish at the title's intended size. Those are variations of the same documented keyframe method, rather than extra effects to add.
If the panel timeline is hidden, widen Effect Controls or use its Show/Hide Timeline View control. Adobe's keyframe navigation arrows and Shift snapping let you return precisely to either keyframe. Check the two saved states before smoothing the motion.
Put Ease In on the landing keyframe
Ease In slows the value change as it enters a keyframe. Ease Out accelerates the change as it leaves one. For a slide that comes to rest, right-click the later Position keyframe in Effect Controls and choose Ease In. Adobe's interpolation definitions make the direction clear: the title is entering its landing.
Position can expose temporal and spatial interpolation separately. Choose the temporal setting for the speed of the landing; spatial interpolation controls the shape of the motion path. That distinction matters when the words slow correctly but travel along an unwanted curve.
Expand Position to inspect its Velocity graph. A gradual slowdown should replace the abrupt stop of a linear move. Dragging the graph handles lets you refine the rate of change, following Adobe's Bezier handle controls. Watch the picture as you adjust: a pleasing curve is useful only if the words settle where the reader expects them.
Easing changes speed within the existing interval. It doesn't add time between the keyframes. To lengthen the move while keeping the arrival frame, move the first keyframe earlier. In a graph, change a keyframe's time by dragging its marker above the graph, not by trying to slide the graph point sideways.
For an exit, hold the resting position with another keyframe near the end, then move the words offscreen at a later one. Ease Out belongs on the keyframe where they leave rest. Play across both ends of the title, starting before the cut beneath it, and check that the motion gives the audience time to register the shot and read the line.
Reveal letters with Typewriter
Search for Typewriter in Window > Effects (Shift + 7 on Windows and macOS). Adobe's current effects and transitions list places Typewriter and Text Animator under Video Transitions > Text. Older tutorials call them FI: Typewriter Impacts and FI: Text Animator Impacts. Searching the name avoids the folder differences.
These Film Impact tools were included in Premiere with the 25.5 release; they don't require a separate Film Impact subscription or plug-in installation. If your installed release predates them, use the Position method above or update between projects.
- Drag Typewriter onto the beginning of the title clip on V2. At a free clip edge, this creates a single-sided transition.
- If another clip touches the title on V2, hold Ctrl on Windows or Command on macOS while dragging and use Start at Cut. This keeps the transition on the title's side, as in Adobe's single-sided transition instructions.
- Select the transition and change Duration in Effect Controls, or drag its edge in the Timeline. A shorter transition completes the reveal sooner.
- Play from before the title starts. Check that the full line has appeared before its reading time begins.
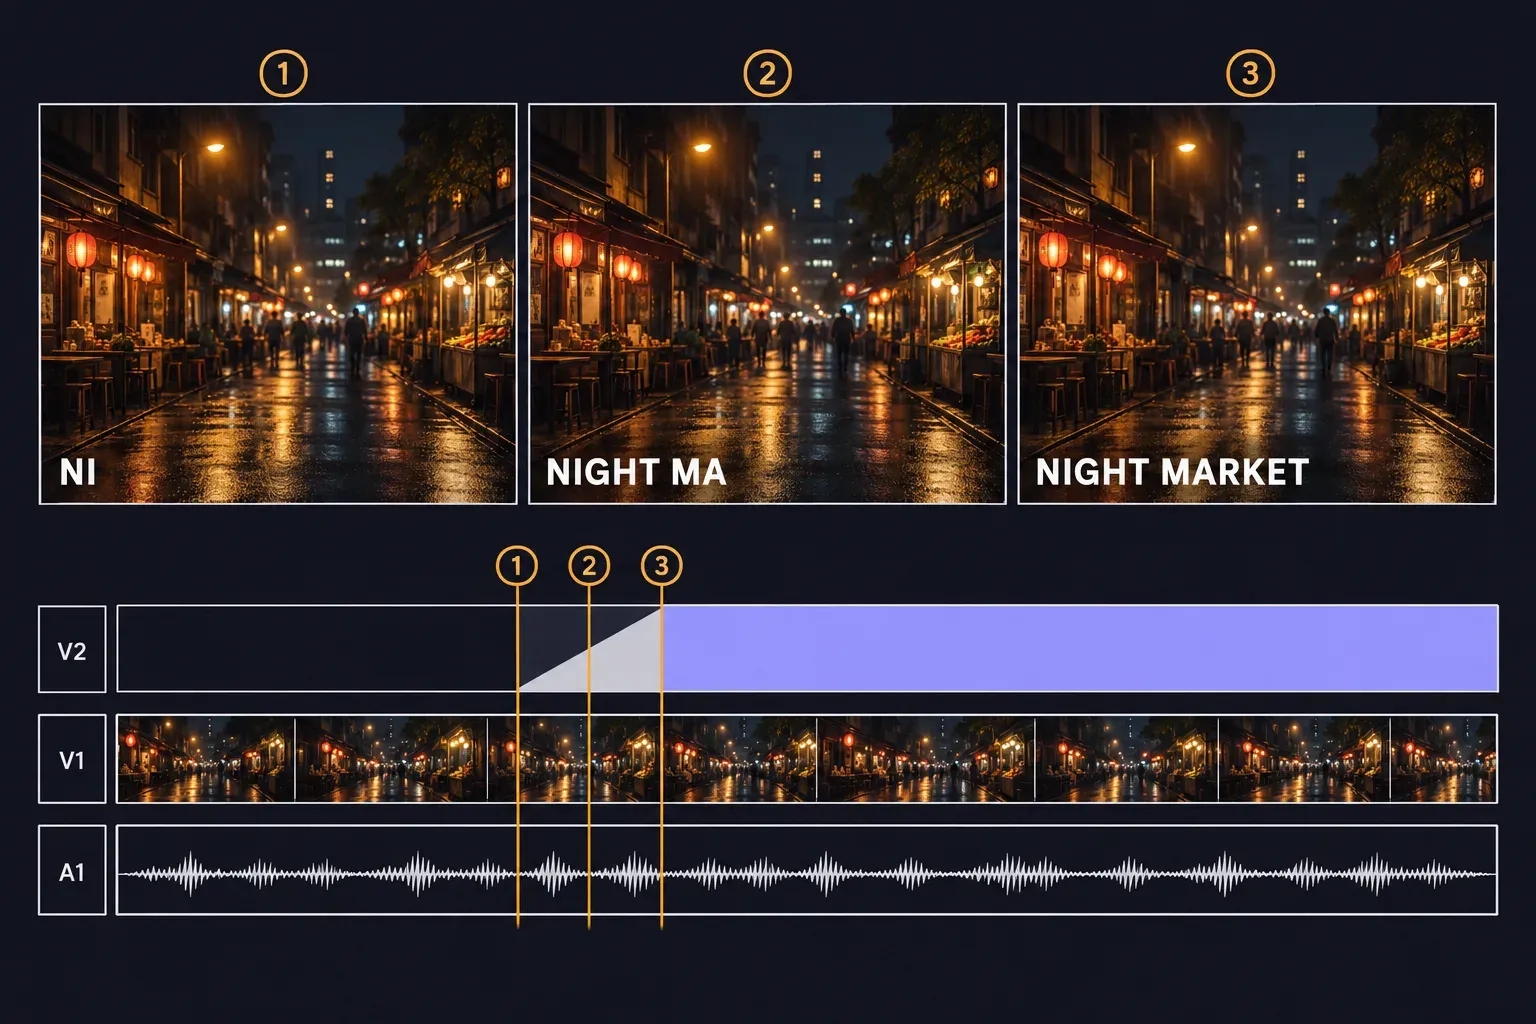
Adobe describes Typewriter as a letter-by-letter reveal. Text Animator provides motion presets for titles. Select either transition and use Effect Controls for the options exposed by your release; use manual keyframes when an exact landing or exit matters.
The default transition length starts at one second. You can change it under Edit > Preferences > Timeline on Windows or Premiere > Settings > Timeline on macOS. Changing that preference affects transitions applied afterward; adjust an existing title's Duration directly.
Reveal text from behind an edge
A mask reveal suits a lower third that rises from behind a line or box. Adobe's Mask with Shape method keeps a shape fixed while the text moves into its visible area:
- Create a shape layer and a text layer in the graphic. Size the shape over the area where the words should be visible.
- Select the shape and enable Mask with Shape. The words show within the shape's area.
- At the first frame, enable animation for the text layer's Position and move the words outside the mask.
- Move the playhead later and position the words inside the mask. Add Ease In to that landing, then play the reveal.
If an older tutorial uses Crop or Linear Wipe, note that the effects library was reorganized in 26.0. Crop and Linear Wipe (Legacy) are retained for compatibility; the modern Linear Wipe has its own entry. A wipe uncovers an area of the line, while Typewriter is the route for separate letters.
Choose how individual words should arrive
For words timed to speech, use captions. In the Text panel, transcribe the sequence if needed, then open the Captions tab and select Create captions from transcript. Expand Captioning Preferences and choose Single Word under Layout. Adjust any other caption settings you need, then select Create captions. Adobe's single-word caption workflow creates one word per caption in sync with the speech; it is available from 26.3.
A typed title with deliberately staggered words needs a different construction. Put each word on its own text layer, apply the Position method to each layer, then offset their keyframes to the intended beats. That uses the documented layer controls without relying on a particular preset's options. For a long run of matching titles, I'd choose one motion graphics template because it keeps the design and exposed controls consistent.
To install a .mogrt, open Window > Graphics Templates and use the Install Motion Graphics template icon. The installed template appears under My Templates. Drag it onto a video track, then edit its text in the Properties panel. Check the template's required Premiere version, fonts and licence before downloading it.
Protect the move before trimming the title
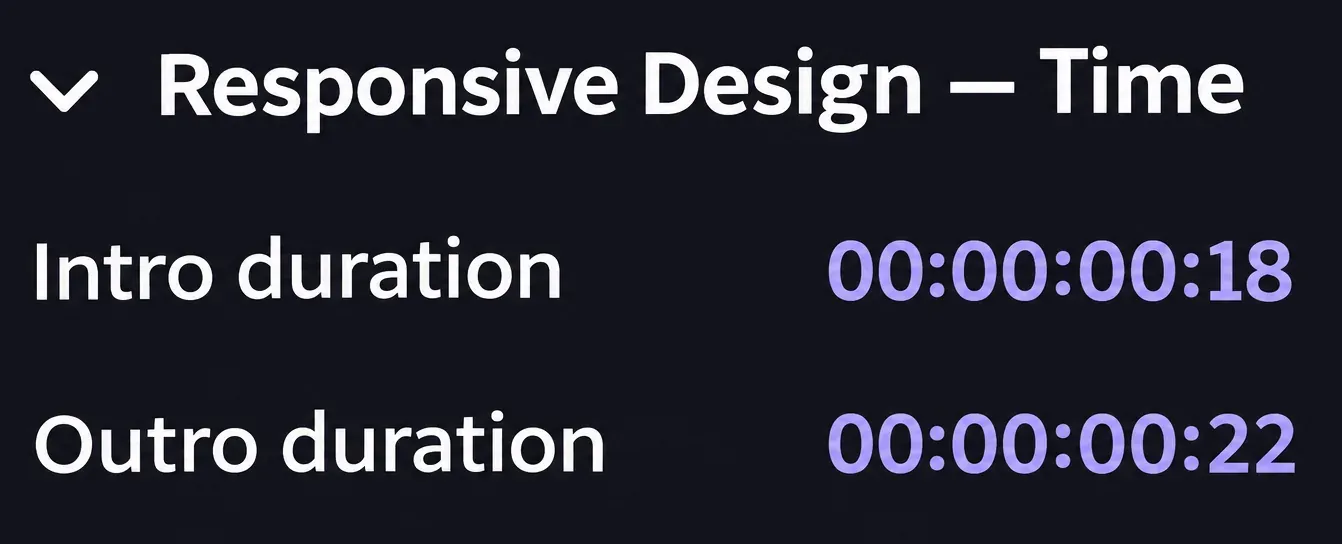
Responsive Design Time preserves the intro and outro of a graphic when its duration changes. Select the graphic in the Timeline with none of its individual layers selected, then open Properties. Set Intro duration to cover the entrance keyframes and Outro duration to cover the exit.
Adobe's protected intro and outro regions retain the timing of keyframes inside those spans. Keyframes between them stretch or compress to fit the new duration. Effect Controls also lets you set the spans with the handles at the beginning and end of the clip.
After a late trim, play from before the title enters until after it leaves. Check the landing against the shot, the length of the readable hold and the exit against the cut. If the title crosses two shots, watch both backgrounds. The finished move should support the words on each frame where they appear.