How to duplicate a clip in Premiere Pro without moving the original
Copy a timeline clip with its intended picture and sound, choose the destination and check that the original stays in place.
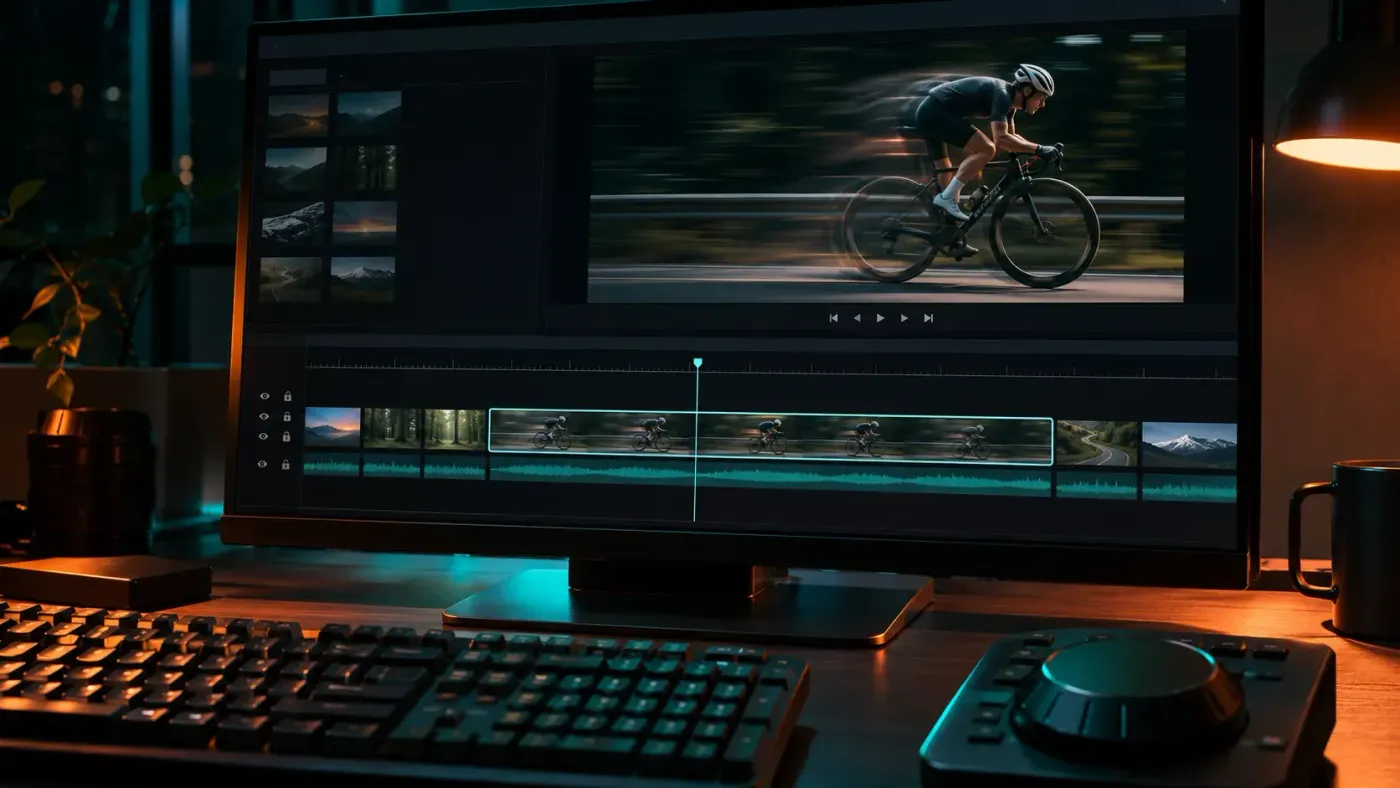
To duplicate a timeline clip in Adobe Premiere (formerly Premiere Pro), select it, hold Alt on Windows or Option on Mac, and drag the copy into empty space. Release the mouse when the copy is in place; the original stays at its existing edit. If you need both picture and sound, select that linked pair before holding the modifier.
I'd use the drag method for a nearby copy because you can see its destination before you let go. Leave enough empty space for the complete clip: placing a copy over material you still need can replace part of that edit. Save the project before rearranging a finished sequence.
Select the picture and sound you want to repeat
For a dialogue clip, read the pair as V1 picture, A1 dialogue. Click the clip with the Selection tool and inspect which parts are highlighted. Adobe's linked-selection controls determine whether a normal click selects both components. If only the picture is selected, don't assume its sound will follow the copy.
Make the selection first, then hold Alt or Option for the drag. The order matters: using that modifier while selecting can choose just the audio or video portion of a linked clip. For several clips, hold Shift while selecting the additional items, then inspect the full selection before duplicating it.
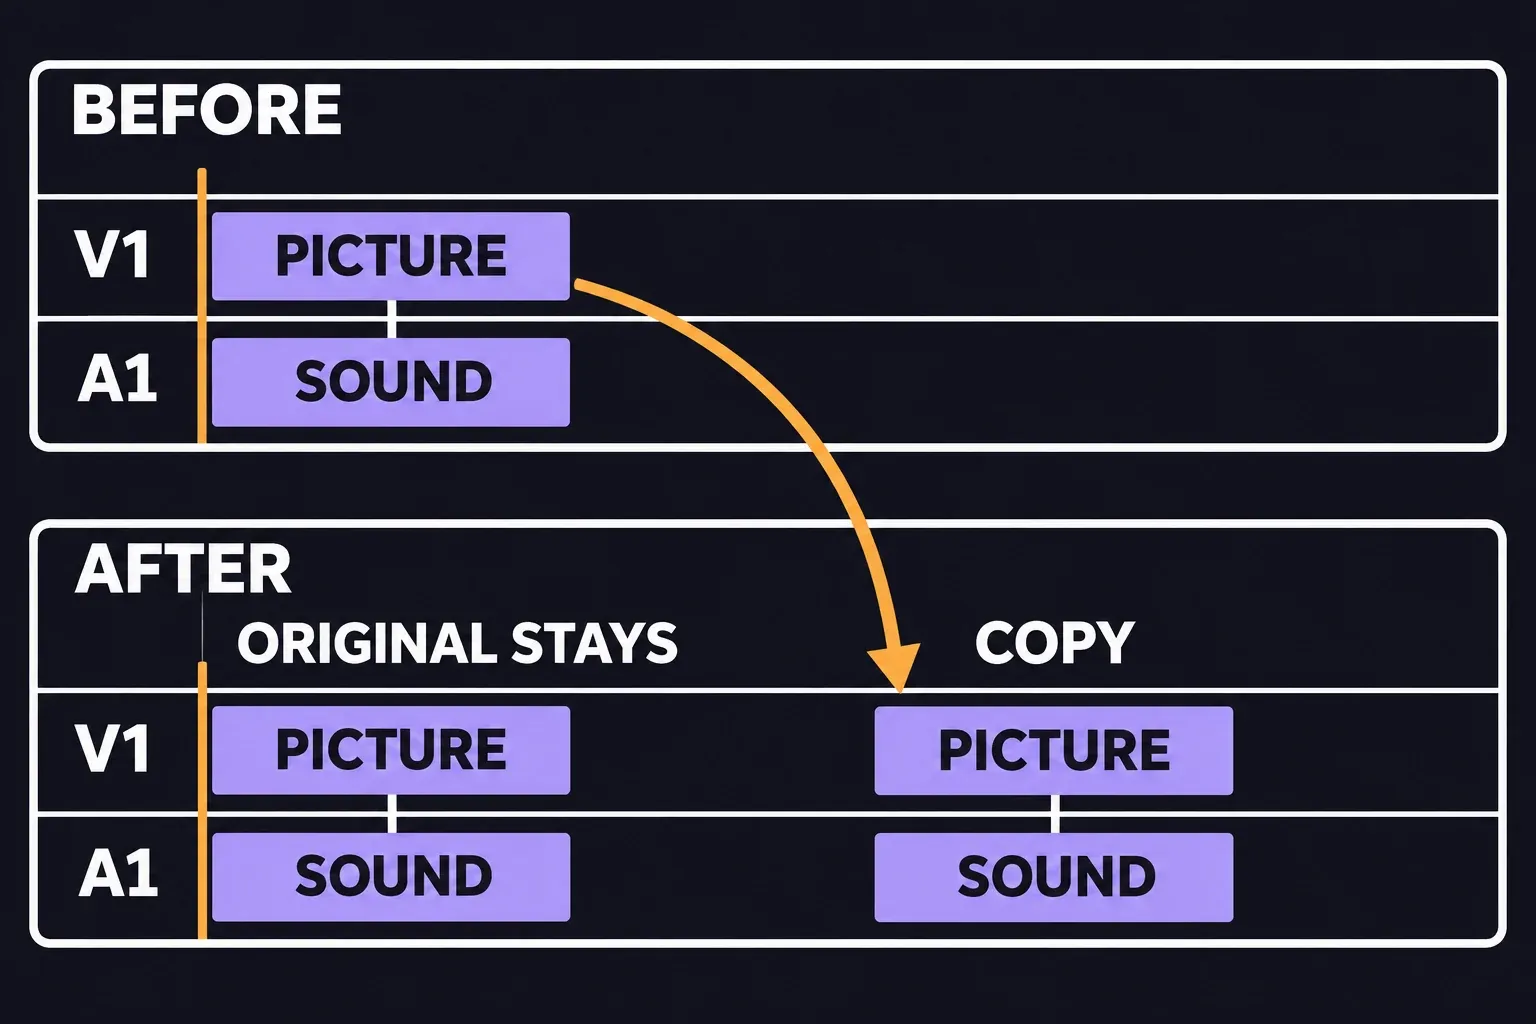
Drag a copy to the new position
- Select the intended clip or group in the Timeline panel.
- Hold Alt on Windows or Option on Mac.
- Drag the selection to an empty destination. Adobe's clip-duplication procedure supports moving the copy along the timeline or vertically to another track.
- Release the mouse to place the copy, then release the modifier. Check that the original is still where it started.
If the original moved instead, undo that action with Ctrl+Z on Windows or Cmd+Z on Mac, then make the selection again. Hold the duplication modifier before starting the drag. If the destination won't accept the clip, inspect its track lock and confirm you're placing video on a video track or audio on an audio track.
Copy and paste when the playhead is the easier target
For a copy farther along the edit, select the timeline clip and choose Edit > Copy. Move the playhead to the intended start of the copy, inspect the destination tracks and choose Edit > Paste. Adobe also documents Ctrl+C / Ctrl+V on Windows and Cmd+C / Cmd+V on Mac for this route. Shortcuts can be reassigned, so use the named command when your keys behave differently.
Check the destination before pasting. A copy placed into occupied time can replace existing material. A paste is also not a promise that the clip will land on whichever track you clicked most recently: Premiere has separate paste operations and track-targeting rules. If the copy appears on the wrong track, undo it and use Alt/Option-drag to an explicit empty destination, or verify the paste command and assignment you're using.
A duplicate can repeat the whole selected clip, but a shorter excerpt is often the part you need. Split the clip at the excerpt's boundaries first, select the resulting piece and its intended sound, then copy that selection.
Check both ends of the duplicate
Park the playhead a little before the copy and play through its start and end. Listen for a complete word and check that the sound belongs with the picture. Then inspect the original and the material around the new destination: no missing frames, no overwritten shot and no unintended second copy of dialogue playing underneath.
If the duplicate is meant to close against the next shot, use the trim controls that match the timing change and play across that cut again. A successful copy keeps the original intact and puts the intended picture and sound at the new edit.