How to split a clip in Premiere Pro
Cut at the playhead with Ctrl + K or Cmd + K, choose the tracks and remove a middle section without leaving a gap. Includes linked audio, Sync Lock and undoing a through edit.
To split a clip in Premiere Pro, put the playhead at the cut, click inside the Timeline panel and choose Sequence > Add Edit: Ctrl + K on Windows or Cmd + K on macOS. You can also select the Razor tool and click the clip where the cut belongs. I use Add Edit for an exact frame because the playhead is easier to place precisely than a moving pointer.
The split gives you separate pieces on the timeline; it doesn't create new video files or remove any footage. To cut out a section, make a split at each end, select the unwanted piece with its linked sound, then choose Edit > Ripple Delete to close the gap.
Split at the playhead, on the tracks you intend
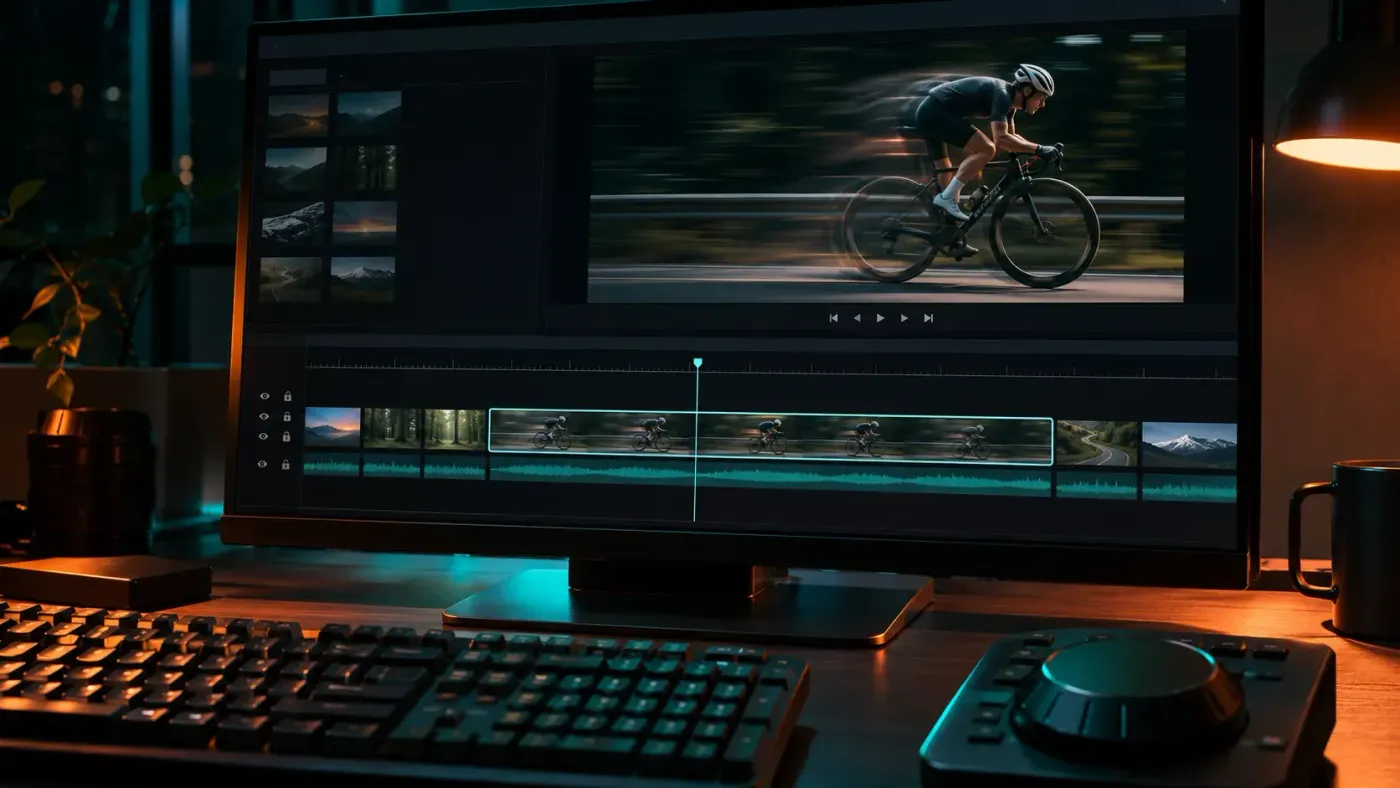
Start with a sequence open and the footage already on its timeline. For the example below, read the stack from top to bottom: V2 a title over a later answer, V1 the interview; A1 the interview's linked audio, A2 a music cue that starts later. The first cut belongs on V1 and A1. The title and music can stay whole.

Open the full-size track-targeting controls
- Find the frame. Move the playhead to the cut, then use Left Arrow or Right Arrow to move one frame at a time. The Program Monitor shows the frame at the playhead. These navigation keys work with the Timeline panel active, as shown in Adobe's instructions for positioning the playhead.
- Clear any clip selection. Click an empty area inside the Timeline panel after parking the playhead. This also puts keyboard focus on the timeline.
- Choose the tracks. Turn on the V1 and A1 track-targeting buttons in the track headers. Turn off targeting for V2 and A2, and leave the interview tracks unlocked.
- Make the split. Choose Sequence > Add Edit, or press Ctrl + K on Windows, Cmd + K on macOS. The clip should now have an edit point at the playhead on both V1 and A1.
Check both tracks before going on. If the split landed on the wrong one, press Ctrl + Z on Windows or Cmd + Z on macOS, correct the selection and track controls, then try again. Back the playhead up a little and press the Spacebar: a split on its own should pass without a jump in the picture or a break in the voice.
Split all unlocked tracks at once
Choose Sequence > Add Edit to All Tracks: Ctrl + Shift + K on Windows, Cmd + Shift + K on macOS. The commands and keys are listed in Adobe's default shortcut table. This cuts clips under the playhead across the unlocked tracks, including an overlapping title or music cue. Use it when every layer needs the same boundary.
For a track that must stay untouched, turn on its padlock first. Track Lock prevents edits; Sync Lock has a different job during a ripple operation. After an all-track cut, play through it and check that each layer still appears or sounds at its original moment.
Cut directly with the Razor tool
The Razor cuts at the pointer, so it suits a run of cuts placed by eye. Keep Linked Selection on if the picture and sound should stay together, then select the Razor in the Tools panel and click the clip at the split point. Hovering over the tool shows its name and the shortcut assigned on your computer.

Open the full-size Razor and Selection controls
Two modifiers change the cut:
- Shift-click with the Razor to split clips across tracks at that location. Adobe describes this in the Razor tool controls. Locked tracks remain protected.
- Alt-click on Windows or Option-click on macOS to split only the audio or video portion of a linked clip. This is useful when a voice should continue under a change of picture; you don't need to unlink the whole clip first.
Press V to return to the Selection tool when the cuts are done. Then play from just before the edit point. A plain split should leave picture and sound continuous; an intentional audio-only or video-only split should leave the other part running through it.
Remove a middle section without losing sync
To remove a cough from an interview, cut immediately before it, then cut where the next retained part begins. Return to the Selection tool (V) and click the middle piece. With Linked Selection enabled, both the video and its linked audio should highlight. Check that pair before deleting: leaving only the picture selected would leave the unwanted sound behind.
Now decide what follows the edit. Enable Sync Lock on the other tracks whose later clips must move with the interview. In the example, the later V2 title needs to follow its answer. The later music cue on A2 can either follow with Sync Lock on or keep its sequence position with it off. Track targeting chooses where to cut; Linked Selection keeps a clip pair selected; Sync Lock controls which other tracks follow a ripple.
- Select the unwanted middle piece and confirm that its V1 and A1 parts are both highlighted.
- Choose Edit > Ripple Delete. With the Timeline panel active, the defaults are Alt + Backspace on Windows and Option + Delete on macOS.
- Check the join. Ripple Delete removes the selected pieces and closes the gap, pulling later material earlier according to the tracks involved and their Sync Lock settings.

Ordinary Clear leaves room for something else: Backspace on Windows or Delete on macOS in the Timeline panel. Use Ripple Delete when you want that time removed. If you cleared a piece by mistake, undo it and repeat with Ripple Delete.
Play across the new join and listen to the retained words on both sides. There should be no black gap, clipped syllable or change in lip sync. Look farther down the timeline too: the title must still sit over its answer, and the music cue must start where you chose.
Undo a cut or join a through edit
For the last action, use Edit > Undo: Ctrl + Z on Windows, Cmd + Z on macOS. Window > History can take you back through earlier actions in the current session, but it also undoes the actions after the one you choose. Adobe's History panel guidance confirms that earlier actions are no longer available after you close and reopen the project.
If you only split a clip and its two pieces still continue the same source frames in order, that boundary is a through edit. Right-click the edit point on Windows, or Control-click it on macOS, and choose Join Through Edits. Adobe's product team describes how joining a through edit removes the cut. Turn on Show Through Edits in the Timeline settings menu if you need help finding those boundaries.
The command isn't a way to merge unrelated shots or recover a section you deleted. The source must continue across that boundary; a missing stretch breaks that continuity. For a simple cut, join it and play through the old edit point. Picture and sound should run as they did before the split.
If the split shortcut doesn't work
Click inside the Timeline panel, check that the intended tracks are targeted and unlocked, then use Sequence > Add Edit from the menu. If the menu works, inspect the assigned key in Edit > Keyboard Shortcuts on Windows or Premiere > Keyboard Shortcuts on macOS. Search for Add Edit and check the command you intend: Add Edit and Add Edit to All Tracks are separate entries.
Defaults are remappable. When you assign a different shortcut, read any conflict warning and save the custom set with Save As. Changing the key won't fix a locked or untargeted track.
When to trim, detect shots or export instead
For unwanted footage at the start or end of a clip, trim that edge. You only need two splits when the unwanted section sits inside material you want to keep. A rolling edit moves the boundary between neighboring clips without changing their combined duration; that's a separate timing adjustment from dividing a clip into pieces.
If one file already contains several edited shots, Scene Edit Detection can find those shot changes. Select the timeline clip and choose Clip > Scene Edit Detection. Leave only Create clip marker at each detected cut point selected, clearing the cut and subclip options, then select Analyze to review the proposed boundaries. It finds changes inside the footage rather than dividing a clip into equal durations.
Splitting on the timeline also doesn't save each piece as a separate file. Keep that export task separate from deciding where the cuts belong. Once the edit points are settled, play the sequence from the beginning and check that every retained picture and word arrives where you intended.