How to add motion blur in Premiere Pro
Animate a title or logo inside Transform and give it its own Shutter Angle, put Transform on an adjustment layer to blur several layers at once, and blur motion recorded in footage with a tracked Directional Blur mask.
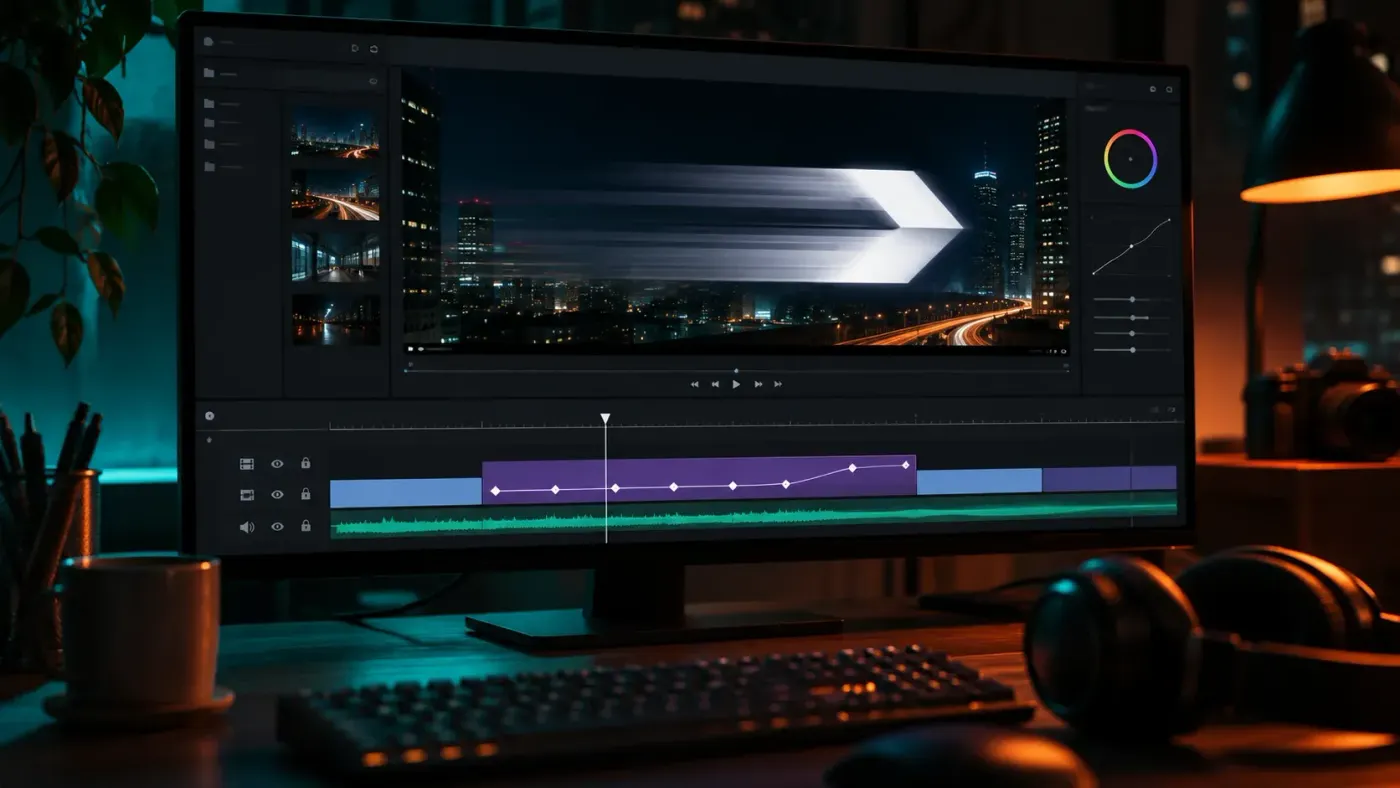
To add motion blur in Adobe Premiere (formerly Premiere Pro), animate the move inside the Transform effect rather than under Motion, clear Use Composition's Shutter Angle and set Shutter Angle to 180. Higher angles give more blur and lower ones give less. That works for a title, logo or picture you animate yourself. Movement recorded in the footage needs a different tool: a Directional Blur masked and tracked to the moving subject.
I'd reach for Transform whenever the move is one I keyframe, because its blur follows my own keyframes exactly. Directional Blur is for motion the camera recorded, where I have to draw and track the mask myself.
Pick the route by what's moving
| What moves | Route | Where the blur comes from |
|---|---|---|
| A layer you keyframe: title, logo, photo, picture-in-picture | Transform with its own Shutter Angle | Position, Scale or Rotation keyframes inside Transform |
| Several layers moving together, or a push-in across a cut | Transform on an adjustment layer above them | The adjustment layer's Transform keyframes, applied to every track below |
| A subject moving inside recorded footage | Directional Blur with a tracked mask | The blur direction and length you set inside the mask |
| A shot you've sped up | Frame Blending under Time Interpolation | Neighboring frames mixed together |
Track stack for an animated title
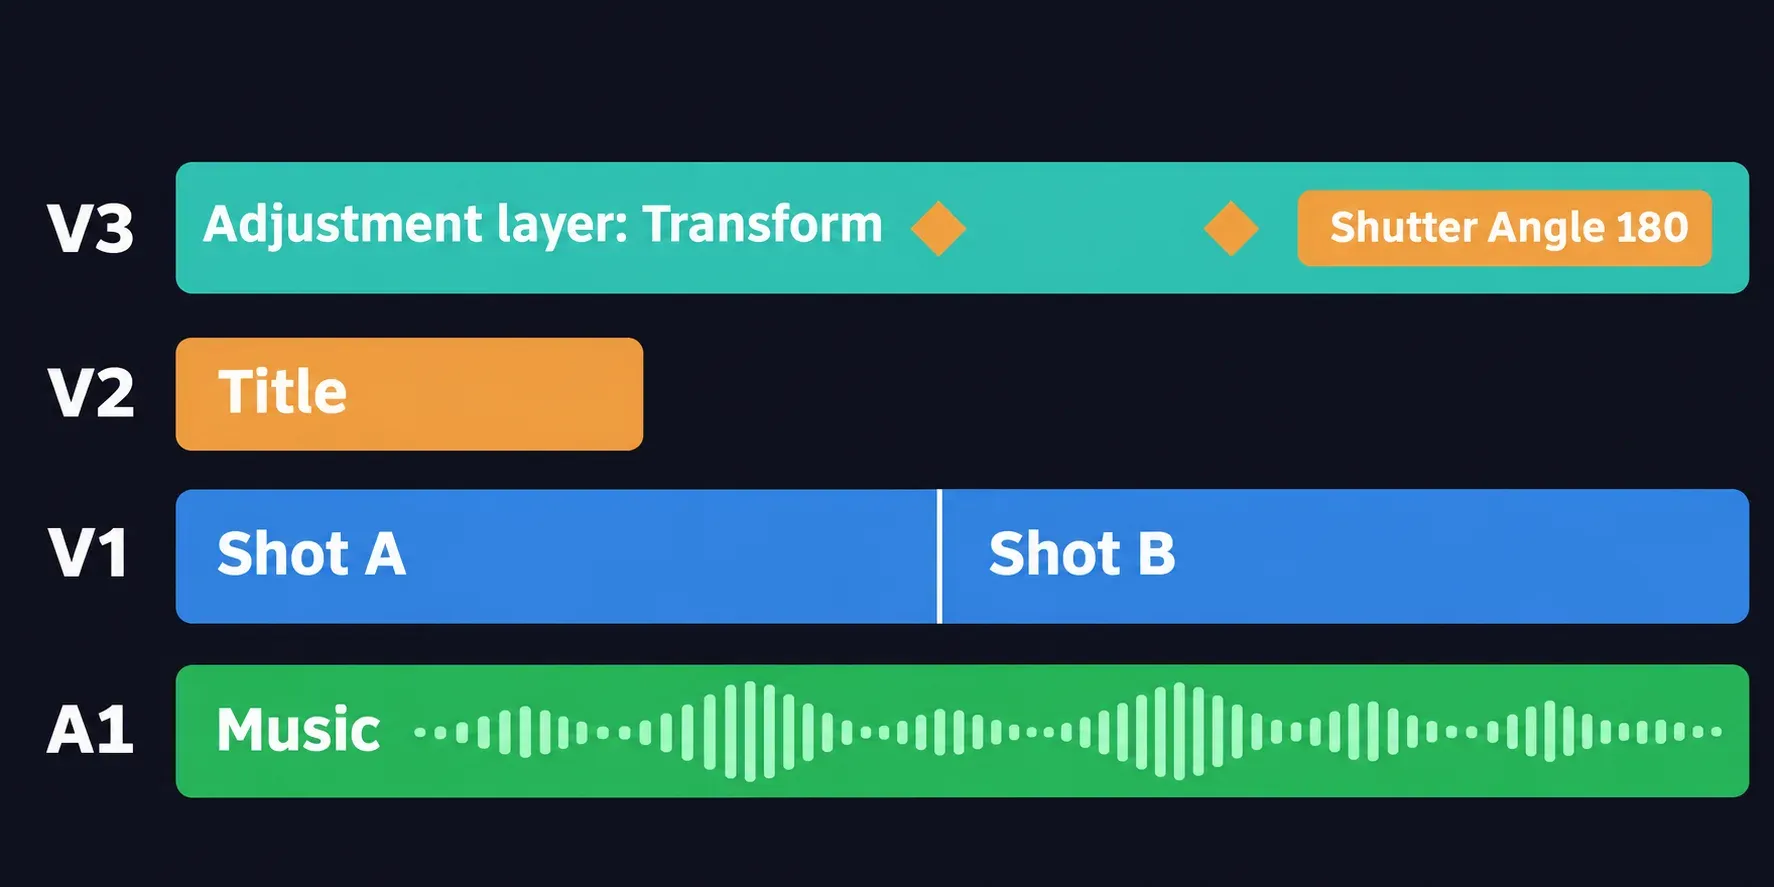
The Transform route usually sits in a stack like this:
- V3: an optional adjustment layer, only if several layers move as one.
- V2: the title or logo that slides or scales, with Transform applied.
- V1: the background footage, which stays sharp unless it moves too.
- A1: the music or whoosh the move should land on.
The Directional Blur route needs only the action clip on V1. The blur stays inside the mask you draw on that clip.
Blur a keyframed move with Transform
If the layer already slides or scales with Motion keyframes, rebuild that move inside Transform on a copy of the clip without them. Transform's Shutter Angle blurs only the animation made in the Transform effect, so a move left under Motion stays sharp whatever angle you set.
- Open the Effects panel with Window > Effects or Shift+7 on Windows and Mac. Search for Transform, found under Video Effects > Distort, and drag it onto the clip in the timeline.
- Select the clip and open Window > Effect Controls (Shift+5 on both platforms). Scroll down to the Transform section.
- Park the playhead where the move starts and select the stopwatch beside Position for a slide or Scale for a zoom. Move the playhead to where the move ends and change the value. Premiere adds the second keyframe.
- Further down in Transform, clear Use Composition's Shutter Angle and type 180 into Shutter Angle.
- Play the move at full speed. The layer should blur while it travels and sharpen where it comes to rest.
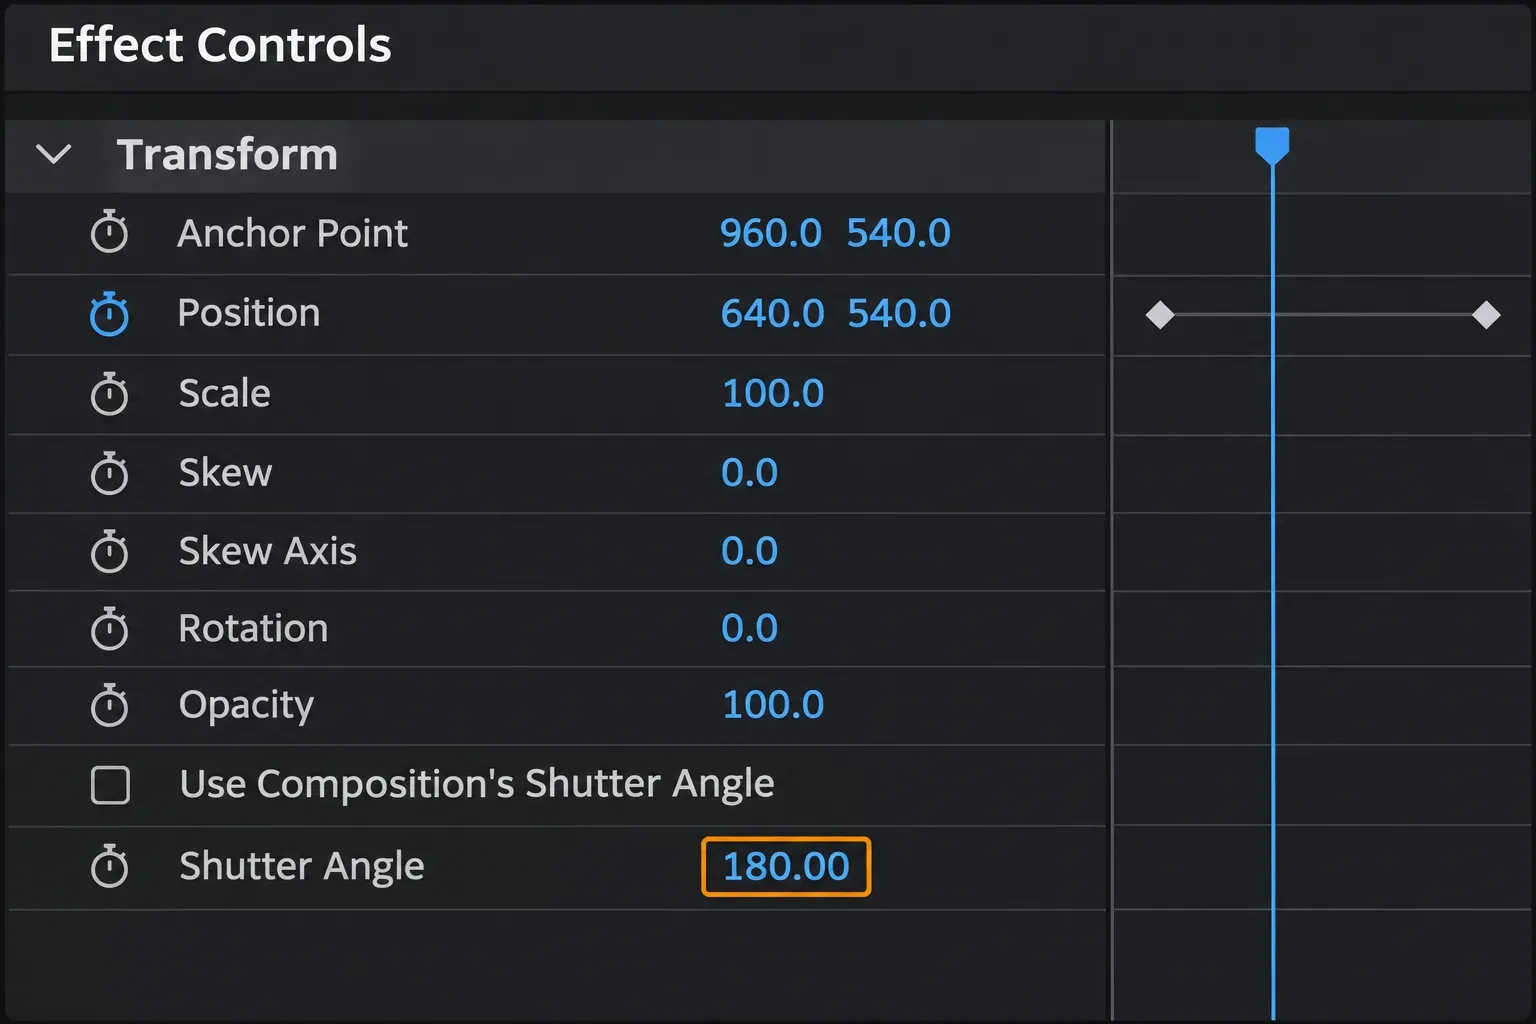
Set the Shutter Angle
I'd start at 180° because it matches the standard camera shutter: PremiumBeat's motion blur walkthrough puts 180° at roughly 1/48 of a second at 24 fps, so the animated layer smears about as much as footage shot with the standard shutter. Across five guides and threads that name a value, the starting point is 180° every time. PremiumBeat, Spotlight FX's Transform guide and Storyblocks' motion blur tutorial start at 180°, a Reddit answer sets 180, and a Medium post suggests anywhere from 180 to 360 for a heavier trail. All of them agree that a higher angle gives more blur and a lower one gives less.
Push toward 360 for a fast whip where a long streak is the point. Drop below 180 when small text has to stay readable while it moves. Then tune the move itself:
- Spacing: keyframes closer together make a faster move, and a faster move blurs more at the same angle.
- Easing: right-click a keyframe and choose Ease In or Ease Out so the layer slows into its stop and the blur fades out with it.
- Preset: once the look works, right-click Transform in Effect Controls and choose Save Preset. It appears in the Presets folder of the Effects panel for the next title.
If Transform's motion path doesn't show in the Program Monitor, check your version. The 26.5 release fixed a missing Transform motion path there, and a separate bug where Ease keyframes switched to auto-Bezier and bent the path. On an earlier build, update Premiere before you chase the curve by hand.
Blur several layers with one adjustment layer
When a title, a lower third and the footage under them should all move together, put Transform on an adjustment layer above them instead of on each clip. An effect on an adjustment layer affects every clip on the tracks below it, so one set of Position or Scale keyframes moves the whole stack and one Shutter Angle blurs it.
A push-in across a cut works the same way: let the adjustment layer span the edit and keyframe Scale from the last frames of the outgoing shot into the incoming one. Trim the adjustment layer to the length of the move so nothing else in the sequence picks up the effect, and play both sides of the cut.
When the layer stays sharp
- The keyframes are under Motion. Open the clip in Effect Controls and look for stopwatches inside Transform. If the only animated properties are in the Motion section, rebuild the move in Transform.
- The checkbox is still selected. Transform uses its own Shutter Angle only after you clear Use Composition's Shutter Angle.
- The motion is in the footage. Transform's Shutter Angle blurs only movement you animate inside the effect, so a runner crossing an unanimated clip stays as sharp as the camera recorded it at any angle. Use Directional Blur for that shot.
- Playback drops frames. Choppy playback makes blur hard to judge. Render the section first, as described below, then look again.
Blur motion inside footage with Directional Blur
For a subject that moves in the recorded shot, Adobe's motion blur tutorial uses a masked Directional Blur. I'd keep the mask tight to the moving part, because a directional smear outside the mask would soften everything in the shot that isn't moving.
- Open the Effects panel (Shift+7), search for Directional Blur and drag it onto the clip.
- In Effect Controls (Shift+5), use one of Directional Blur's mask tools to draw a mask around the subject in the Program Monitor. Zoom the Program Monitor in if that helps you place it, and leave the blur values at their defaults for now.
- If the subject travels across the frame, select the Track Mask arrows to track forward or backward, stopping to fix the mask whenever it drifts. When the subject enters from off-screen, start tracking from the middle of the clip and then track the other way. Near the edge of the frame, track one frame at a time. Skip this step for a subject that stays in place.
- Set Direction to follow the action, raise Blur Length a little at a time, and increase Mask Feathering if the mask's edge shows.
- Play the clip on a loop and adjust the values while it runs. A little Blur Length goes a long way.
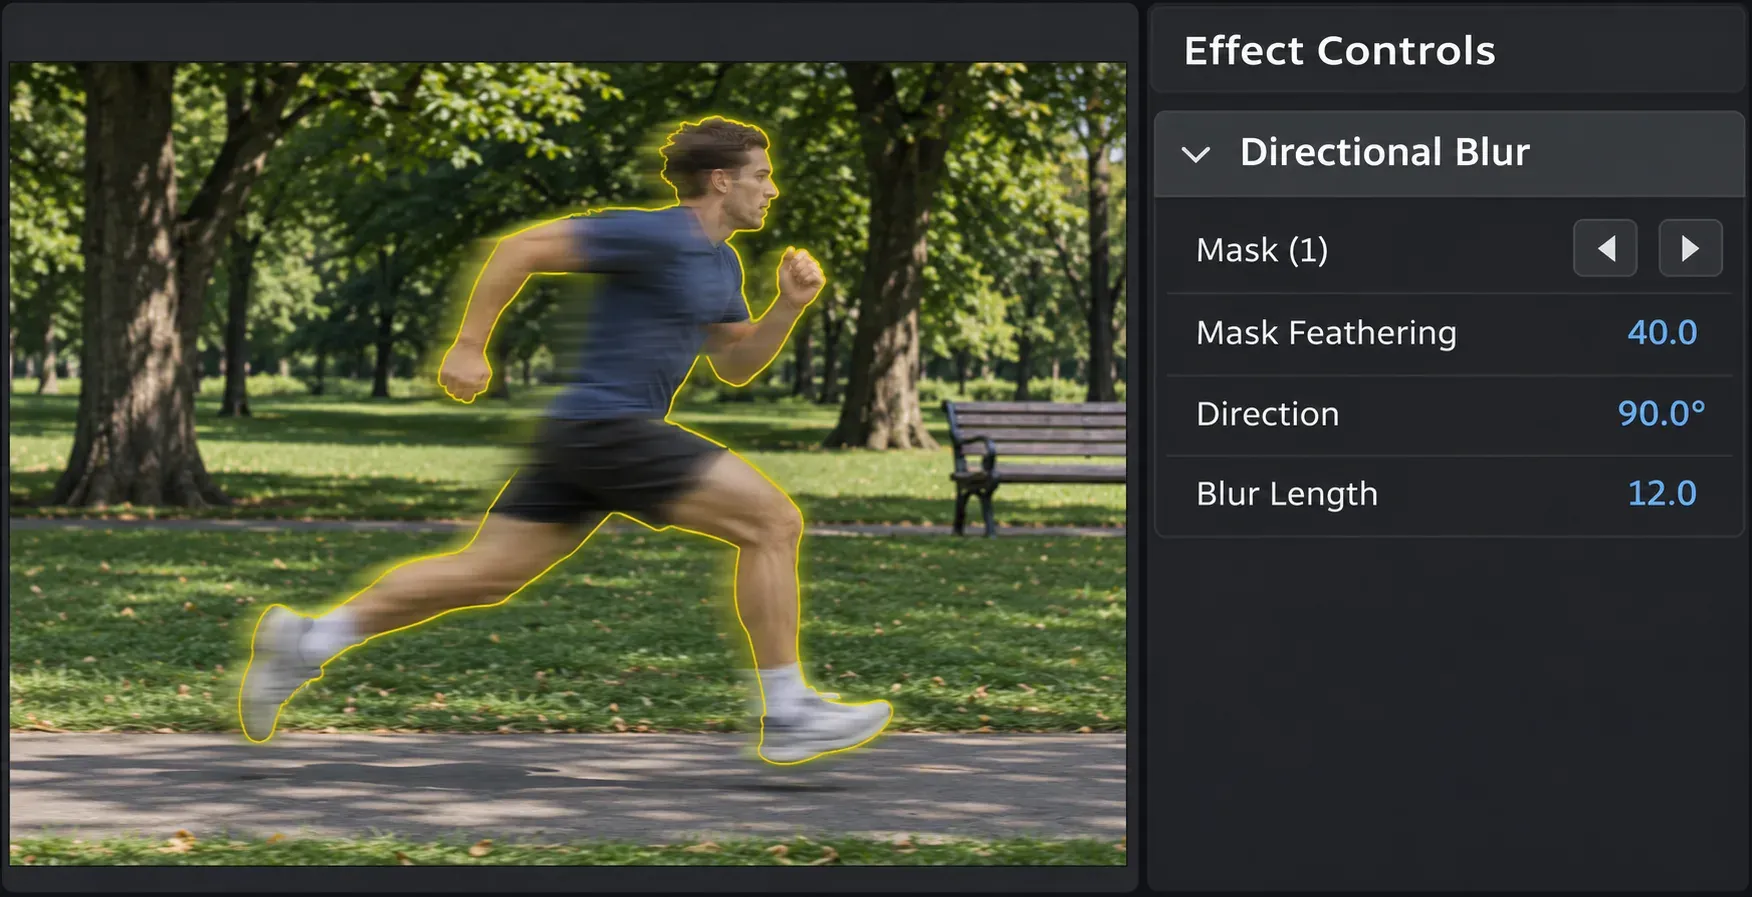
Parts that move in different directions, like an arm swinging against a body running forward, each need their own Directional Blur instance or their own mask. Right-click each instance and rename it so you can tell them apart later.
Blur a sped-up shot with Frame Blending
A shot that already plays faster than real time can borrow blur from its own frames. Select it, open Clip > Speed/Duration (Ctrl+R or Cmd+R) and set Time Interpolation to Frame Blending. It blends neighboring frames, and on fast movement that mix reads as a trail. For a speed ramp, where the speed changes inside the shot, choose the same option from the clip's right-click menu under Time Interpolation once the ramp's timing is final.
Render the section before you judge it
Dropped frames make motion blur hard to judge, so render the move before you settle on an angle or a Blur Length. Press I before the move and O after it, then choose Sequence > Render Effects In to Out (Enter on both platforms). That renders the red sections of the render bar, the ones least likely to play smoothly. Render In to Out renders the yellow sections as well. A green bar means that stretch is rendered.
Play the move across the cut
Park the playhead a second before the move and play through it and the next edit at full speed with sound. The layer or subject should blur only while it travels and sit sharp where it stops. A mask should stay on the subject without a halo, and the move should land on its beat in the music. Change one value at a time and play the same stretch again.