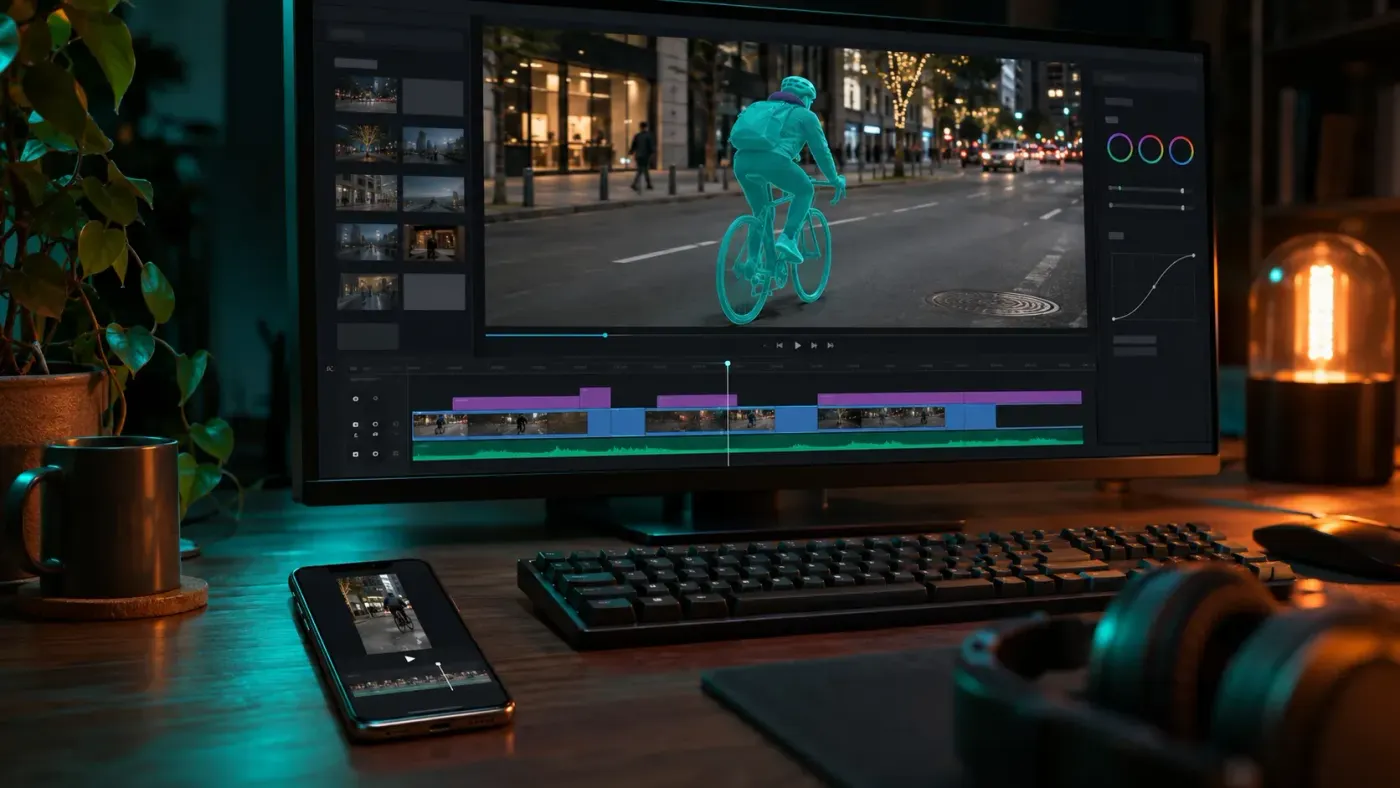
Premiere Pro AI features: what runs locally, what costs credits
Every AI tool in Premiere sorted by where it runs and what it costs: search, transcripts, Enhance Speech, Object Mask, Generative Extend, the Generative Media Tool and the AI Assistant beta, with steps, limits and credit math.
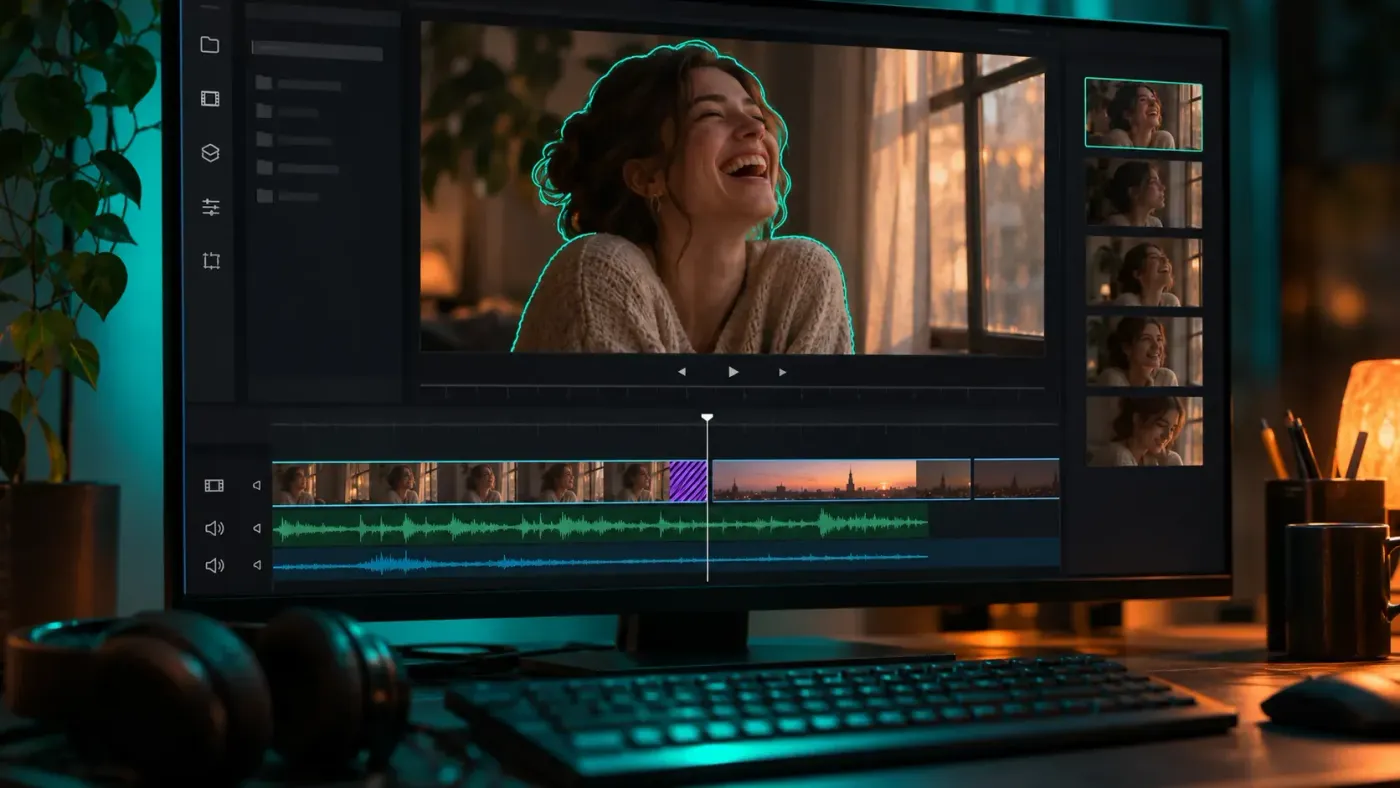
Adobe Premiere (formerly Premiere Pro) has two kinds of AI tools, and the split decides what they cost you. Speech to Text, Caption Translation, Enhance Speech and the other assistive tools are included with a Creative Cloud membership, and Media Intelligence search and Object Mask run on models installed on your computer. Generative Extend and the Generative Media Tool create new frames or clips in the cloud and spend generative credits: two seconds of Extend on 1080p footage at 24 fps costs 200. AI Assistant is a third case, available only in Premiere (beta) with its own daily credits.
I'd find, transcribe and clean what's already in the project before I generate anything, because those tools work on footage you own and leave the credit balance alone. On a Premiere Single App plan started on or after June 17, 2025, the monthly allowance is 25 credits, less than one second of Extend at any listed resolution.
Which AI tools Premiere has and what each needs
| Tool | Job | Where it runs | Generative credits | Status |
|---|---|---|---|---|
| Media Intelligence search | Find shots by description, spoken words, sounds or metadata | On your computer, with no internet needed | None | Released; visual search in English only |
| Speech to Text | Transcribe dialogue for captions and text-based editing | Needs the language pack for the spoken language | None | Released; over 18 languages |
| Caption Translation | Translate a caption track onto a new track | Cloud, through Google Translate and Microsoft Translator models | None | Released; 27 languages |
| Enhance Speech | Reduce noise and lift dialogue | Background task; faster on an M1 Mac or a recommended Windows GPU | None | Released; mono and stereo clips only |
| Object Mask | Select and track a person or object | On-device model, downloaded on first use | None | Released in 26.0; smoothness controls in 26.5 |
| Generative Extend | Add up to 2 seconds of video or 10 of audio at a clip's edge | Cloud, on Adobe Firefly | 50 to 175 per second of video | Released; 360p to 4K UHD sources in 26.5 |
| Generative Media Tool | Generate video or sound effects into a timeline range | Cloud, on Firefly or a partner model | Varies by model, shown before you generate | New in 26.5; Soundscape and Music in beta |
| AI Assistant | Organize, rename, mark and assemble from typed requests | Premiere (beta); some actions send media to the cloud | Separate daily beta credits | Beta |
The Premiere app for iPhone and iPad is a separate download. Everything below is about the desktop app on Mac and Windows.
Find shots and sounds with Media Intelligence
Media Intelligence analyzes imported footage so you can search by what's in the picture, what people say and what you hear, as well as by metadata such as shoot date, location and camera. The Media Intelligence search procedure starts with that analysis:
- Import footage into a new project or open an existing one, and let the analysis finish in the background. Its progress shows in the upper-right corner of the main window, or under Window > Progress.
- Select the magnifying glass icon in the upper-right corner to open the Search panel.
- Type a description of the shot. Results for Visuals, Audio, Text and Metadata appear together; use the dropdown next to the field to show one type.
- To find a sound, choose Audio instead of Everything in that dropdown and describe the sound you need. Preview the highlighted match, then drag the clip into the timeline.
- In a large project, select the filter button next to the search field, choose Create New Filter and stack up to eight metadata filters, such as frame rate, file type or label color.
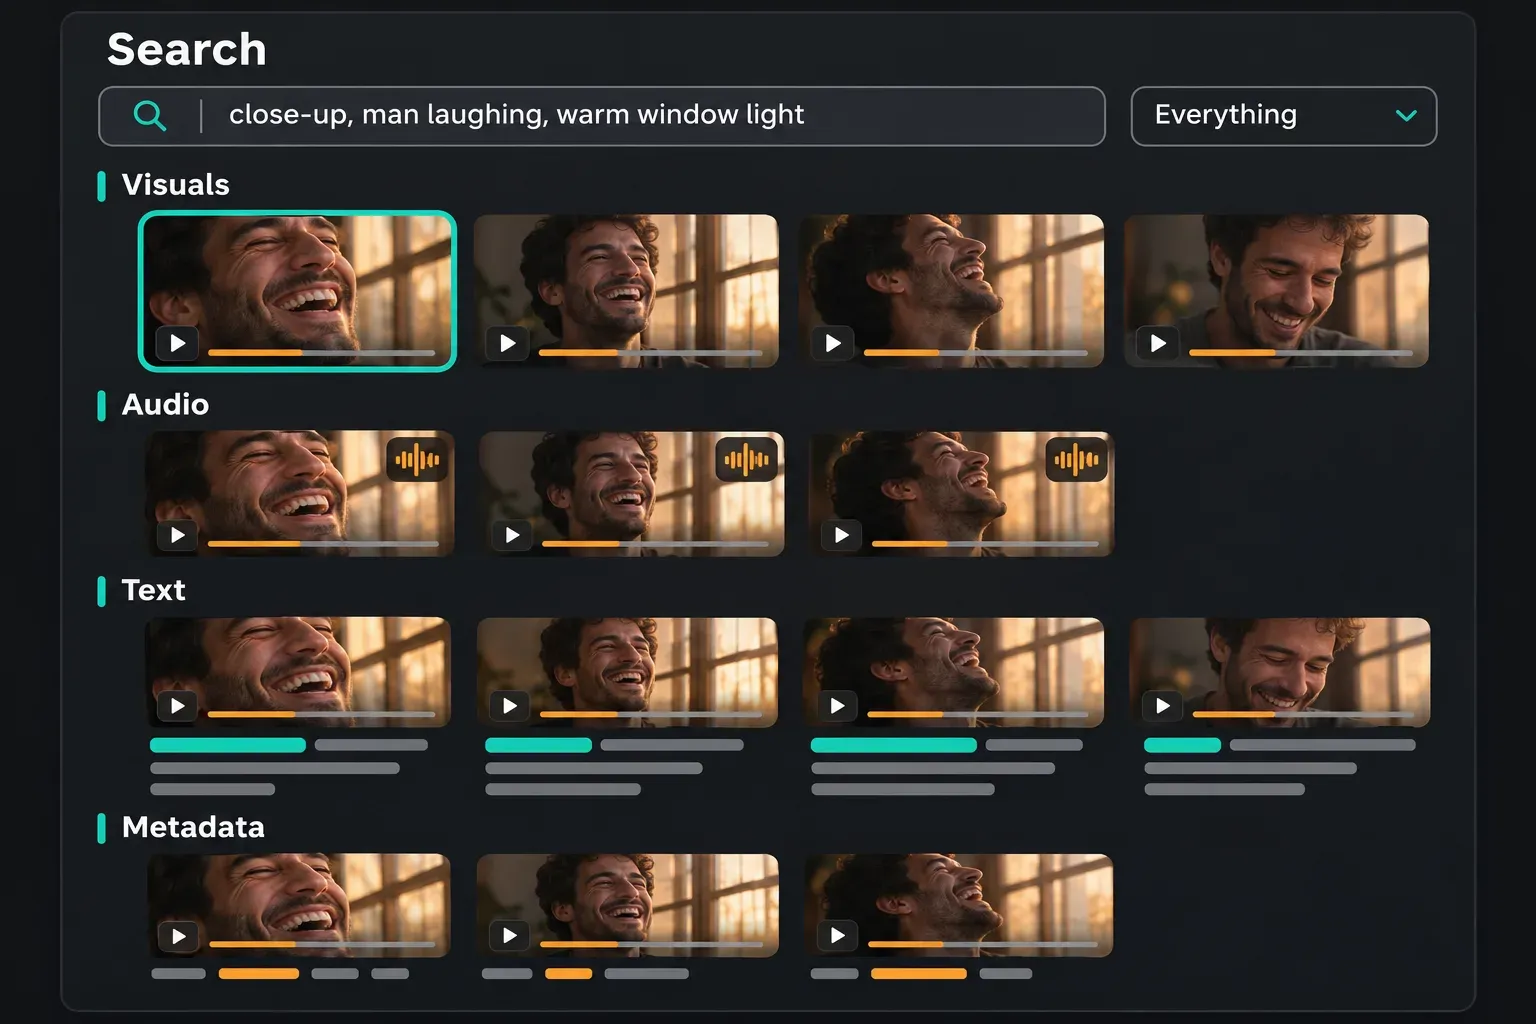
I'd type the shot the way I'd describe it to an assistant who hasn't seen the footage, "close-up, man laughing, warm window light", because multi-word descriptions that include lighting or camera angle match better than single words. Visual search works in English only. It reads a smaller version of the footage as a series of stills, so a small detail or fast motion is easy to miss; scrub each result before you cut it in.
Search doesn't need a connection. The analysis models are installed on your computer, and the footage, the analysis data and your searches stay there. Adobe doesn't train on them.
Transcribe, edit by text and translate captions
Speech to Text builds the transcript that captions and text-based editing work from. Choose Window > Text, select the icon in the Transcript tab for Generate static transcript, set Language and download the language pack if Premiere asks for it, choose whether to label speakers, then select Transcribe. It handles over 18 languages.
With a transcript in place, highlight lines of text to add those clips to the timeline, delete awkward pauses in bulk and remove the filler words it detects. Since 26.5, Paper Edit assembles a new sequence from several lines you select in the Text panel.
To translate captions, select the Translate captions icon in the Captions tab, choose the target language and select Translate. The translation runs in the cloud through Google Translate and Microsoft Translator models, and Premiere puts the result on a new caption track, so the original track stays. Option-click on a Mac or Alt-click on Windows isolates one caption track while you check it. Caption Translation covers 27 languages.
I'd have someone who reads the target language check a translated track before delivery, because nobody on a single-language edit can catch a wrong word by playing it back.
Clean dialogue and balance the mix
Enhance Speech reduces background noise and lifts the voice in a dialogue clip. Select the clip, open the Essential Sound panel and select Enhance. It runs in the background while you keep editing, and the Mix Amount slider balances the enhanced audio against the original.
The Enhance Speech requirements limit it to mono and stereo clips, with no multichannel audio or nested sequences. A stereo clip comes back as a mono downmix, so enhance a duplicate if the stereo image matters. It runs faster on macOS 13 with an M1 processor, or on Windows with the recommended GPU configuration.
I'd set Mix Amount while playing the enhanced line across its cut into the next shot, because dialogue much cleaner than the shot beside it makes the edit point stand out.
Premiere also tags audio clips as dialogue, music, sound effects or ambiance and gives them a badge; select the badge to reach the tools for that type. For music, Remix retimes a track to match the video and Auto Ducking lowers it under dialogue, and the music guide walks through both.
Three audio tools from the September release are in public beta:
- Enhance Audio builds on Enhance Speech with separate control over dialogue, music, ambience and sound effects inside one clip, so you can remove a layer, adjust each one or mute the dialogue.
- Separate Crosstalk splits two overlapping speakers onto their own tracks for separate mixing.
- Dynamic Auto Ducking balances dialogue, music and other elements without manual keyframes.
Separate Crosstalk is one of the cloud-based voice features: Premiere uploads the audio to Adobe, so you have to be signed in and online. Before the first use you authorize the processing and confirm you have the rights and permissions of the people in the recording. It isn't available on files uploaded from Illinois or Texas.
If a voiceover keeps arriving thin or noisy, check the input before you reach for cleanup: change the microphone Premiere records from and record a test line.
Select and track a subject with Object Mask
Object Mask finds people and objects in the frame, so one click selects a subject that you can then track through the shot. It's the quick route to blurring a face, grading one person or keeping an effect on a moving subject.
- Select the Object Mask Tool in the toolbar and hover over the Program Monitor. The first use downloads the models; until it finishes, the tool is unavailable and the Progress panel shows the download.
- Park on a frame where the subject is most visible, then click it when it highlights; every prominent object you can select lights up as you hover. If it doesn't highlight, draw roughly around it with the Rectangle or Lasso option from the dropdown at the bottom of the Program Monitor.
- Refine with the + and – buttons to add or remove parts. Hold Option on a Mac or Alt on Windows to switch between them temporarily.
- Choose Sharp for crisp, defined edges or Smooth for hair, fur, fabric and semi-transparent parts. Smooth doesn't take the mask expansion setting.
- Track the mask through the shot, then play it back and watch the edges.
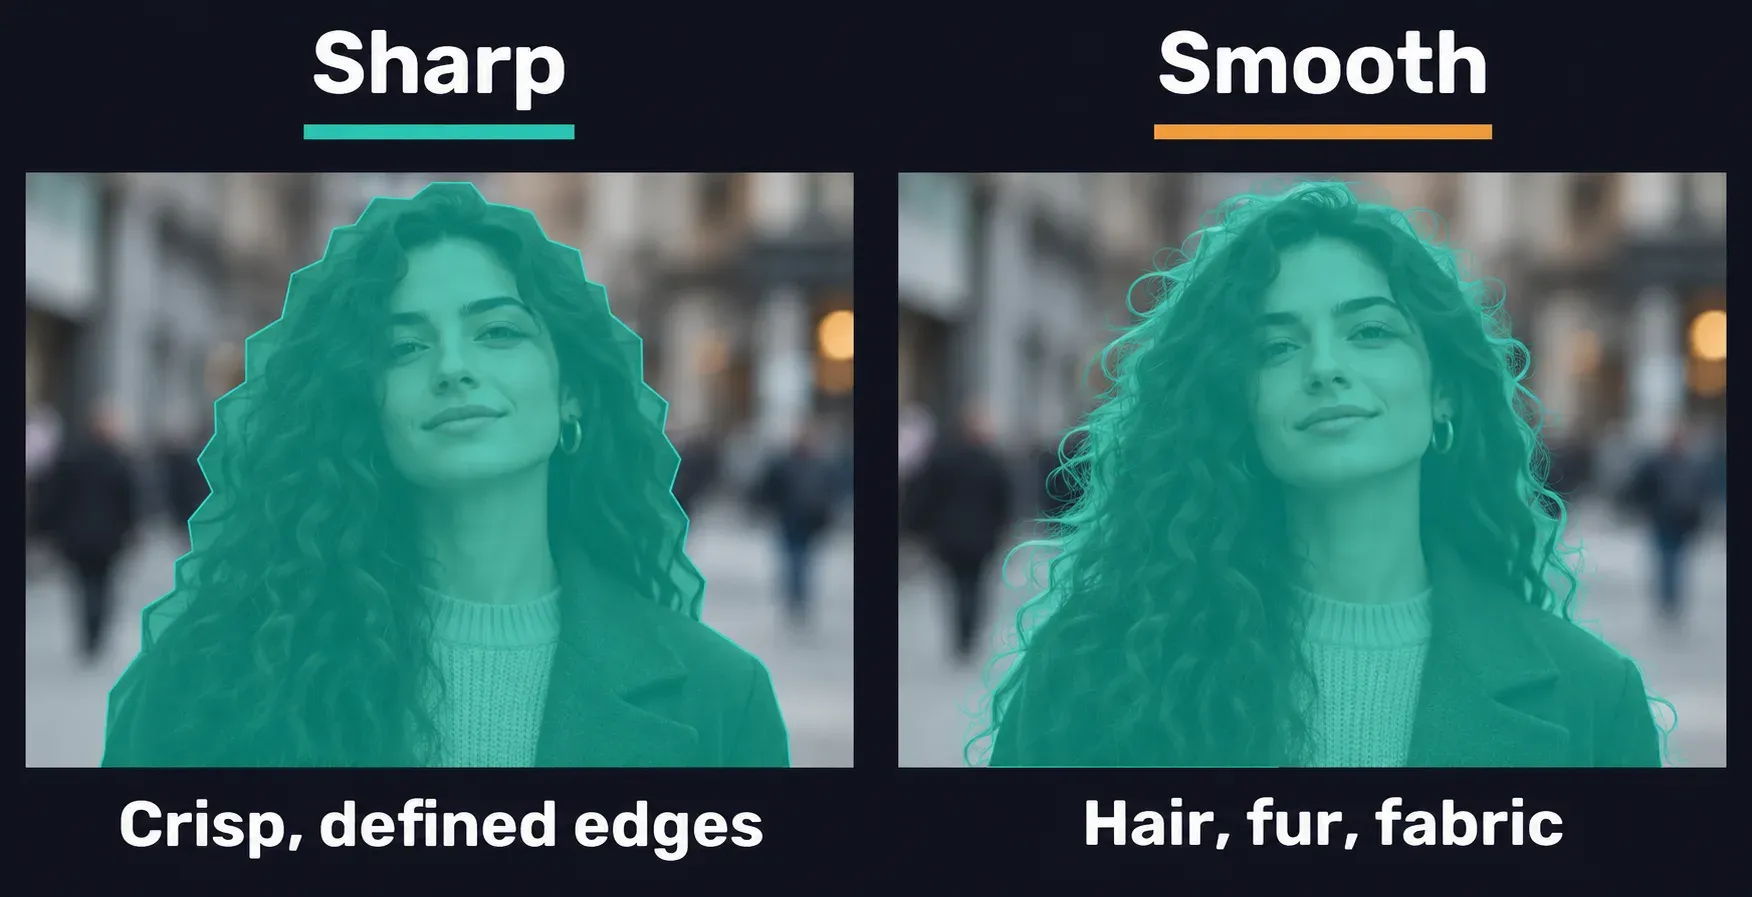
I'd add the effect or grade inside the mask only after the track holds for the whole shot, because a mask that drifts takes the effect with it, and the halo is easier to see once the effect is on.
The detection model runs on your computer. In 26.5 the detector recognizes more kinds of subjects, but Intel Macs and Windows systems with older AMD graphics drivers fall back to the previous model and miss that wider coverage; updating the AMD driver may fix it. Mask data lives outside the project file, in a <Project Name> Masks folder next to it. Move or send that folder with the project, or the Object Masks open offline.
The assistive tools already in your menus
Several older AI tools sit in ordinary menus and spend no credits:
- Scene Edit Detection: right-click a clip in the timeline, choose Scene Edit Detection, and add cuts, a bin of subclips or markers at each scene change. The clip-splitting guide covers the manual cuts around it.
- Auto Color and Color Match: a first pass on exposure, contrast and white balance, and a match between two shots that can use face detection. The color correction steps show where both sit.
- Auto Reframe: select a sequence in the Project panel and choose Sequence > Auto Reframe Sequence. Premiere builds a duplicate sequence in the new aspect ratio, files it in the Auto Reframe Sequences folder and applies the Auto Reframe effect to every clip.
- Morph Cut: a transition that combines face tracking and optical flow interpolation to smooth a jump cut in an interview.
Add frames at a clip's edge with Generative Extend
Generative Extend adds frames to the start or end of a video or audio clip: an extra beat on a reaction, more room for a transition, longer background sound. It needs an internet connection because the model runs in the cloud.
- Pick a clip at least 2 seconds long for video, or 3 seconds for audio.
- Select the Generative Extend Tool in the toolbar.
- Drag the clip's edge to the length you need. Premiere generates the new frames and labels them as AI-generated in the timeline.
- To try another version, right-click the label and choose Regenerate. To go back to your own media, choose Revert to Original.
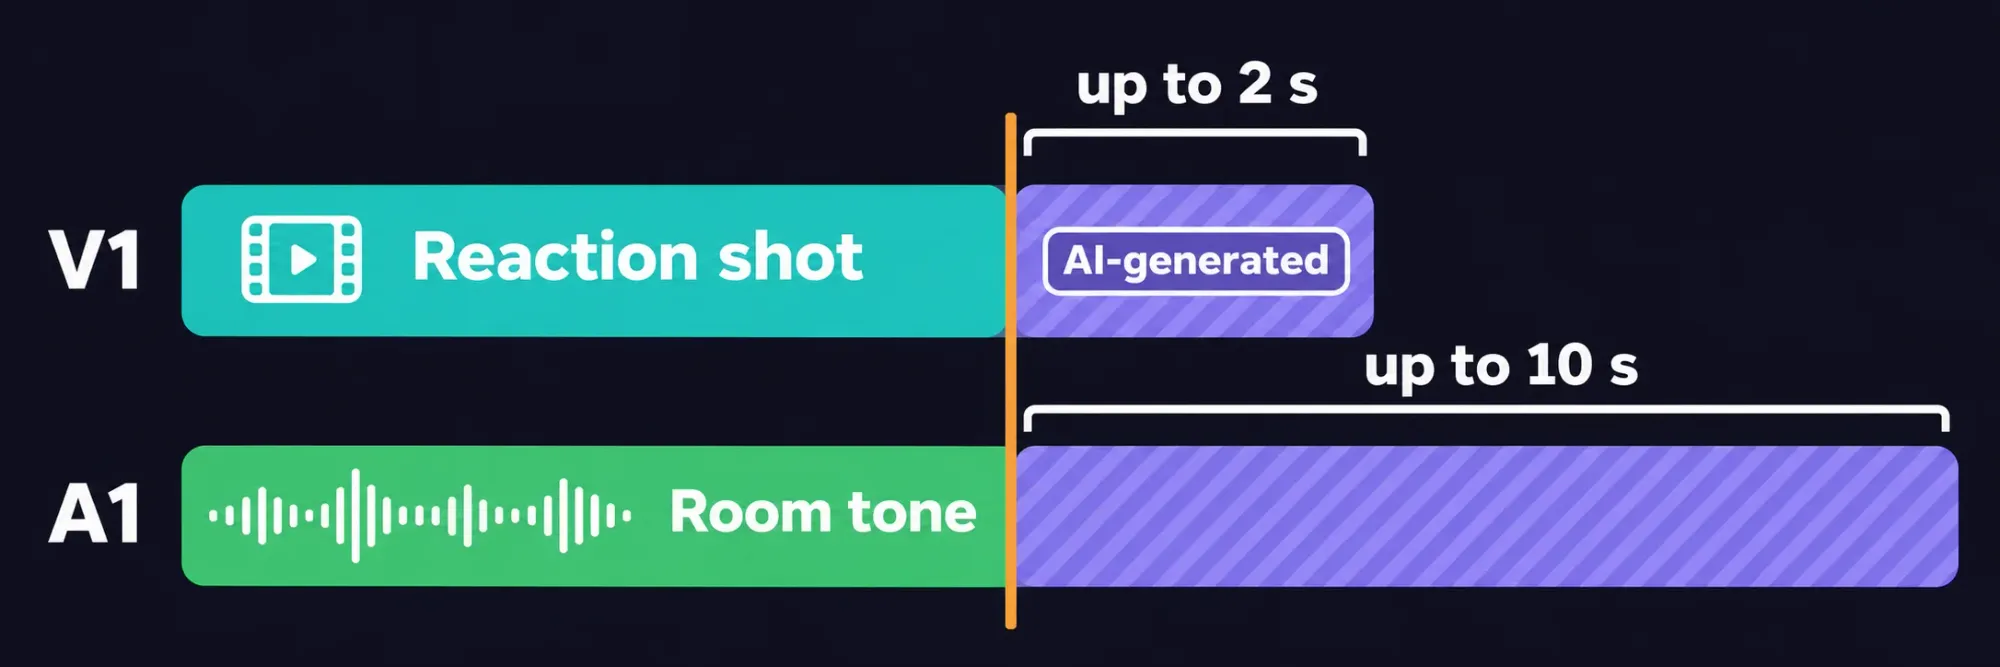
The Generative Extend limits decide which shots qualify:
- Video extends by up to 2 seconds, audio by up to 10.
- It can't create or continue spoken dialogue, and existing dialogue is muted during the extension.
- Clips that contain music can't be extended, and audio has to be mono or stereo, not 5.1 or other surround formats.
- Shots with little change from frame to frame extend better, and so does audio with steady noise or ambience. Archival clips with heavy film grain or other noise don't yet.
- Since 26.5 it accepts sources from 360p to 4K UHD, any aspect ratio, and interlaced or non-square-pixel footage.
- It isn't available in Russia, Belarus or China, where Firefly isn't offered.
I'd use Extend to hold a reaction or carry room tone under a cut, not to stand in for a shot I didn't get, because it adds at most 2 seconds of picture and can't continue anyone's lines.
Each second of video spends credits according to resolution and frame rate. The per-second rates come from the generative credits FAQ, and the 2-second columns are those rates doubled:
| Resolution | Per second at 24 fps | Per second at 30 fps | 2 seconds at 24 fps | 2 seconds at 30 fps |
|---|---|---|---|---|
| 4K | 150 | 175 | 300 | 350 |
| 1080p | 100 | 125 | 200 | 250 |
| 720p | 50 | 75 | 100 | 150 |
Generate video and sound with the Generative Media Tool
The Generative Media Tool, new in 26.5, generates video and sound effects straight into the timeline as editable clips. Select Generative Media, mark where the result should go, and the generative task bar opens with a prompt field, a model choice and the option to add reference frames from your sequence. Premiere sets the model's options to the nearest match for your sequence.
The task bar covers four jobs:
- Generate Video fills a gap in the timeline, using reference frames sampled from the project to match the surrounding shots.
- Generate Sound Effects uses Adobe's own audio model, and you can record your voice to guide the timing and intensity.
- Generate Soundscape (beta) analyzes up to 15 seconds of video and builds layered ambience and effects timed to it.
- Generate Music (beta) writes original music in several variations, with tempo and looping controls.
For video you choose Adobe Firefly or a partner model such as Google Veo, Kling or Luma. Which models you see depends on your region and plan, and some are open only to individual users. Before you generate, the task bar shows how many credits the current model and settings will use, and your balance is under your profile. Every generation needs a connection.
To try again, select the AI badge on the generated clip; the task bar reopens with the original prompt and reference frames. Everything you generate is kept in a generation folder for the project and listed in the Generation history bin.
I'd generate with Firefly for anything a client will publish, because Firefly models are designed to be commercially safe, while deciding whether a partner model suits the project falls to you.
Hand chores to AI Assistant in Premiere (beta)
AI Assistant runs only in Premiere (beta), the separate test build. Choose Window > Assistant and type a request such as "Organize this footage into bins by scene" or "Build a stringout from selected clips." It can create bins, move and rename clips, apply color labels, generate transcripts, detect slates, add markers and build rough assemblies. Every action goes into Premiere's undo list and the History panel, so you can step back through it.
The Assistant replies best in English, though it tries to answer in the language you write in. It runs on complimentary daily credits that refresh at midnight GMT, and credits from your paid plan don't cross over to it. Some of its tools run locally, while others send media to the cloud.
I'd give it a duplicate project and the chores first, such as bins, renames and markers, because Adobe doesn't recommend the beta for client work yet, and a project saved in a v26.x beta can't be downgraded.
Budget the credits before a generative edit
Generative credits come with the plan, renew monthly on your billing date and don't roll over to the next month. Generative Extend is a premium generative feature, so it draws on the premium allowance:
| Plan | Monthly credits | 2-second extensions at 1080p 24 fps (200 credits each) |
|---|---|---|
| Creative Cloud Pro | 4,000 for premium generations, plus unlimited standard generations | 20 |
| Creative Cloud Single App (Premiere), subscribed before June 17, 2025 | 500 | 2, with 100 credits left |
| Creative Cloud Single App (Premiere), subscribed on or after June 17, 2025 | 25 | None |
| Creative Cloud Standard | 25 | None |
Creative Cloud plans also carry a small complimentary allowance for trying premium features, for example 2 video generations. Beyond that, a Firefly plan adds access to premium features, Generative Extend in Premiere among them.
I'd plan an Extend-heavy edit only on a plan with premium credits, because at 200 credits per 2-second 1080p clip, a 25-credit allowance doesn't cover one. Check the balance in your profile before the session and count generated seconds the way you'd count stock clips.
Check commercial use before delivery
- Firefly output: output from features without a beta label can go into commercial projects, and beta output can too unless the product says otherwise. For eligible team and enterprise customers, beta output isn't indemnified.
- Partner models: you decide whether a partner model is appropriate for the project, and that responsibility stays with you.
- Generated music: Generate Music output is commercially safe and carries synchronization rights for any type of media.
- Content Credentials: Adobe may attach Content Credentials to media made or changed with generative features, and the generative AI user guidelines forbid removing, altering or disabling them. Set your preferences once on the Adobe Content Authenticity site, and Premiere applies them on export.
- People's voices: Separate Crosstalk asks you to confirm rights and permissions from the people in the recording.
- Training: your prompts, media and reference frames are used only to generate your content and aren't used to train Adobe or partner models.
Play every AI change at its cut
Before you lock the edit, play each AI result in context with sound: a searched clip through its cut, an enhanced line into the next shot, a tracked mask from its first frame to its last, and an extended clip across the point where your media ends and the generated frames begin. Listen for muted dialogue under an extension and watch for a mask edge that drifts. If a tool from this guide is missing from your menus, update Premiere and play the same stretch again.